Whether you’re just starting out or you have been editing videos for a while, the 10 video editing tips we’ll cover in this post are guaranteed to help you become a better video creator and save ample time and effort in your video creation workflow.
So grab a notebook and your cup of coffee and let’s jump right in
10 key tips to becoming a better video creator:
1. Watch all of your footage before you start editing
2. Think about what music you want to add to the video
3. Change the visuals every 4-6 seconds
4. Use Cuts And Transitions Sparingly And Intentionally
5. Use text to your advantage
6. Plan your story in advance
7. Organize your projects
8. Use the right hardware
9. Adopt an assembly line method
10. Edit ruthlessly
1. Watch All The Footage Before You Start Editing
Before you even start your edits, you should watch all of your footage. Watch every second- even the footage that you think you're not gonna end up using, because you might find something really good in there - and the other reason we do this is just to get a feel for all of our footage before we start putting it together.
Find the parts of the clip that you really like, and make a note of the time code. You can either write it on a sticky note or type it into a doc, and then make a little note about what you wanna use it for, either B-roll or A-roll, or to put it in a montage. This will help you find and select the clips you want to use for your video much easier when you finally sit to edit.
2. Think About What Music You Want To Add To The Video
Before you even start editing your video, think about how you want to use music in your video. Music can either be a subtle or an integral part of the video. If it drives the edit, like in a promotional video, choose the music track before you begin editing the video and ensure that the music syncs with the video’s pace. You want to pay attention to the structure of the song here - for example if your video starts slow with a nice time lapse shot but then picks up in the middle, you should find a music track that does the same thing.
If the music does nothing more than add to the ambience of the video, add it as the final step in your edit. The most important thing to remember while looking for music is that it should match the mood of your video.
If you’re editing your video on InVideo, we’ve made it super easy for you to find the right track as you can search for music based on both - mood and genre.

Just follow these simple steps:
Step 1: Click “Music” and search for a track by choosing a genre or mood.

Step 2: InVideo will display all the tracks in that particular genre. Click on the “Play” button to listen to a selected track.

Step 3: Once you’ve chosen a track, hit the plus button to add the music to your video.

If you want to dive deeper into how you can find the perfect music track for your video and how you can cut to the beat, check out this in-depth video tutorial.
3. Change The Visuals Every 4-6 Seconds
Changing your video’s visuals adds rhythm to it and keeps the video flowing. If you have the same visual for too long, your video may drag a little and you might lose the audience’s attention.
A good thumb-rule is that you'd want to change your visuals every 4-6 seconds since this breaks visual monotony and keeps your audience hooked.
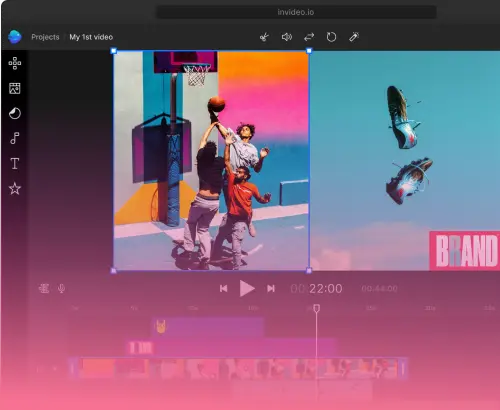
The standard way of doing this is by creating cuts where you switch to a slightly zoomed-in shot for a few seconds and then come back to the original shot. Here’s an example from our own channel:

Alternatively, you can also add B-rolls and breaker slides to the video to help viewers visualize what you’re talking about.
Adding a B-roll
The A-roll constitutes the primary audio and video in the footage and is the part where the main storytelling occurs. It includes the dialogues, interviews, and scenes that further the story.
B-rolls, on the other hand, are supplementary footage that’s secondary to the main footage or the A-roll. It’s used to cut to a clip showcasing what you are actually talking about instead of the video always showcasing your talking head in the frame.
For example, in an explainer video, shots of the speaker and their dialogues would constitute an A-roll video while B-rolls would be shots of the concept they’re explaining.

You can upload your own B-roll footage by clicking on the Upload tab in the left hand side menu.
Or you can search for the stock footage you need within our in-built media library that comes with more than 8M royalty-free stock images and video clips.

Once you’ve added the first scene to the canvas, here’s how you add a B-roll:
Step 1: Go to the “Videos” bar and search for relevant clips.

Step 2: Once you’ve found the perfect clip, drag and drop it over the scene you’d like to overlay.
Next, a pop up will ask if you want to replace the layer or add the clip as a new layer. Select “Add as a New Layer.”

Step 3: Trim the clip if necessary and press “Done.”

Step 4: Open the “Timeline” so you can see all your assets as separate layers.

Step 5: Move your stock video clip to start from the point you want to introduce your B-roll.

Here’s what your video will look like once you have added B-rolls to your A-roll footage:

You can repeat this process with multiple clips to make your video more appealing.
Use A Breaker Slide
Breaker slides are used to divide your video into segments so that the audience doesn’t get overwhelmed with information and lose interest in the video. They’re useful to have in long videos and documentaries that are heavy on information.
For instance, a video listicle can be split into parts with breaker slides to help the viewer digest the information more easily.

Here’s how you create a breaker slide with InVideo:
Step 1: First, split the video into two parts at the point where you want to add the breaker slide.
To do this, first upload a video to InVideo. Then, drag and drop the video

Step 2: Select the scene after which you’d like to add the breaker slide and click “Add scene”.

Step 3: Choose a blank template and change the background colour and text to customize it. You can also add animation to the text to make it more appealing.

Repeat the process to add more breaker slides if your video can be divided into more segments so that your audience will know when you are transitioning from one sub-topic to another.
4. Use Cuts And Transitions Sparingly And Intentionally
Even the most basic transition like a standard cut should be used in a way that you don’t notice it. So, if you are editing a talking video, keep cuts at the end of the sentence and try to leave out cuts in the middle of the sentence. Otherwise you will end up with a sentence with too many cuts and your video will look like this:

As you can see, using too many cuts can draw attention to the edit and will take your audience’s attention away from the story itself.
When it comes to fancier transitions like light leaks, pans and fades, you want to keep those to a minimum too - because they can give your video a slideshow or promo video feel and distract your audience. So unless you are going for something like that intentionally, use these transitions sparingly.
You can use transitions like wipes and slides when you are transitioning into a new segment of the video, especially while using breaker slides.
Adding Transitions To Your Video
Here’s how you add transitions to your videos in minutes with InVideo:
Step 1: Click the transition icon between any two scenes in the timeline to open the transition menu.

Step 2: Select any transition effect to add between the scenes.

Step 3: To set this as the default transition, click the three dots on the video and choose “Apply to all.”
If you want to remove the transition, click the “x” sign over the transition.

If you want to learn more about how to choose and pick the right transitions for your videos, check out this blog where we cover the 13 most popular video transitions used by PRO creators and show you how you can use them.
5. Use Text To Your Advantage
Text in videos are a great way to emphasise the main points of your video - especially if it is a tutorial or explainer video. So, whenever you’re writing the script, you can highlight some of the words and phrases that you think can go up as text in the video to reiterate your point.
To add text to your video using InVideo, follow the steps below:
Step 1: Click the “Text” tab and click “Add a heading,” “Add a subheading,” or “normal body of text.” You can choose from the different text styles provided.

Step 2: To choose a font style, click “Font” above the canvas. Type the font family’s name in the search bar or browse through fonts in our library to choose one.

Step 3: You can also change the text’s color and size and animate it by choosing the required options.

To animate your text, click the “Animate” button as highlighted above. The editor will now take you to the animation effects screen as shown below.
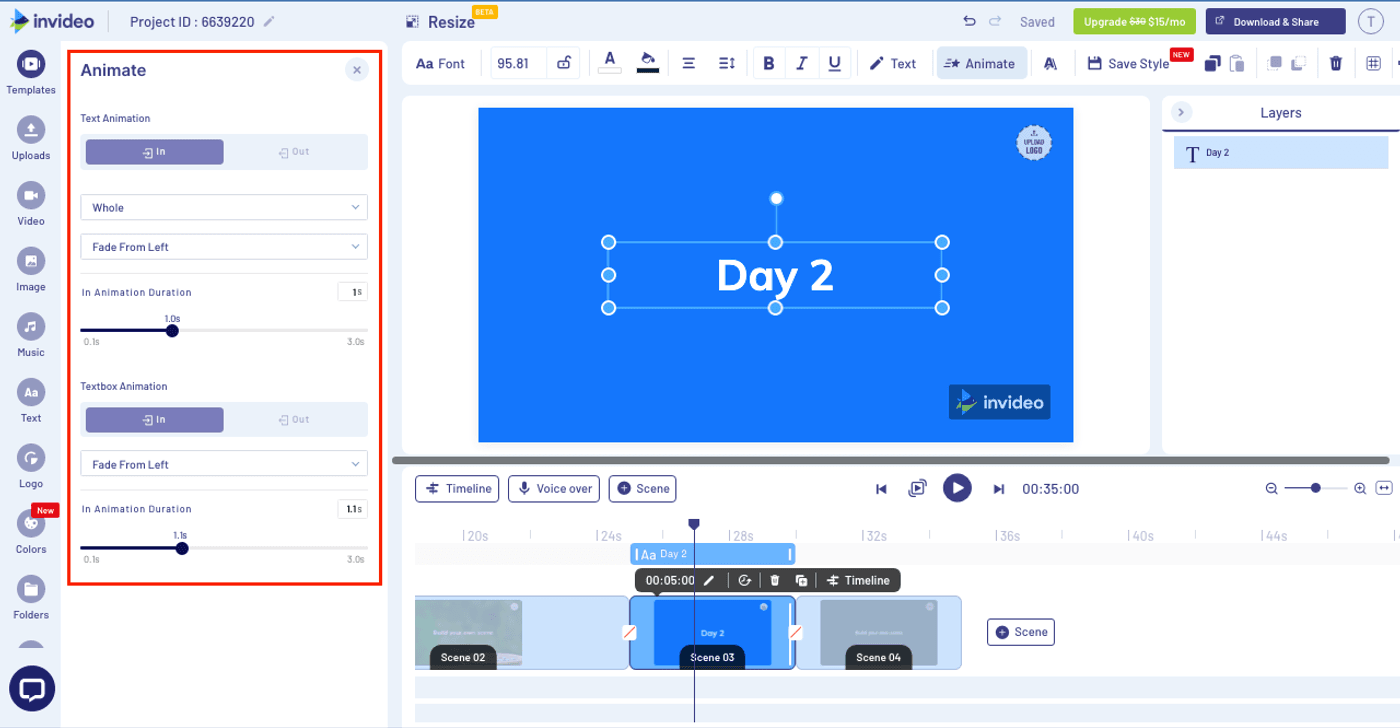
Once you’ve added the effects and set the animation time for the text, your text will look like this:


6. Plan Your Story In Advance
If you don’t have a clear vision of what the final video must look like, you’ll waste time shooting unnecessary footage and figuring out how to piece the story together.
That’s where Storyboarding comes in- it can help you envision your entire video beforehand in the form of mini-scenes and can enable you to shoot to edit so that by the time you actually get to the dit table to put everything together, you know exactly what to do.

Here’s a 3-step process to creating a simple storyboard we use all the time while creating our own videos.
1. Start with a small description of the scene.
2. Next, describe how you’re planning to show the scene’s action visually.
3. Lastly, add the dialogue to the storyboard.
You can allow yourself some creative leeway and steer away from the storyboard sometimes but make sure you don’t get too carried away, as pre-planned videos take less time to edit than impromptu videos.
Here’s a free storyboarding template that you can use to create a rough plot sketch. And if you want to learn more about the fundamentals of creating good scripts, check out our comprehensive guide on writing video scripts.
7. Organise Your Projects
Creating a file structure for your projects helps you edit videos faster as there’s no time lost in finding the required footage.
Unorganised files might not contribute to a delay for short projects but a shoddy file structure will cause delays when you’re working on larger projects with lots of B rolls, music, and multiple shots from different angles.
Here’s a file structure you can follow and customise according to your requirements:
1. Create two folders called “Projects” and “Assets” on your drives.

2. Save the unedited footage and the final cuts of all your projects in the Projects folder.
3. Store all the add-ons like music, sound effects, lens flares, company logos, and any other assets you’ll require in the Assets folder.
4. Within the Projects folder, create subfolders for the raw, unedited footage and the finished files.

5. Follow the same process for the Assets folder and create subfolders for the music, logos, and overlays.

Organising folders this way saves time and space as it eliminates duplicate assets.
If you’re using InVideo, you can create and organise your files and folders online entirely on the cloud using these steps:
1. Log in or sign up to create your free InVideo account.

2. Once the editor opens, go to the “Folders” tab.
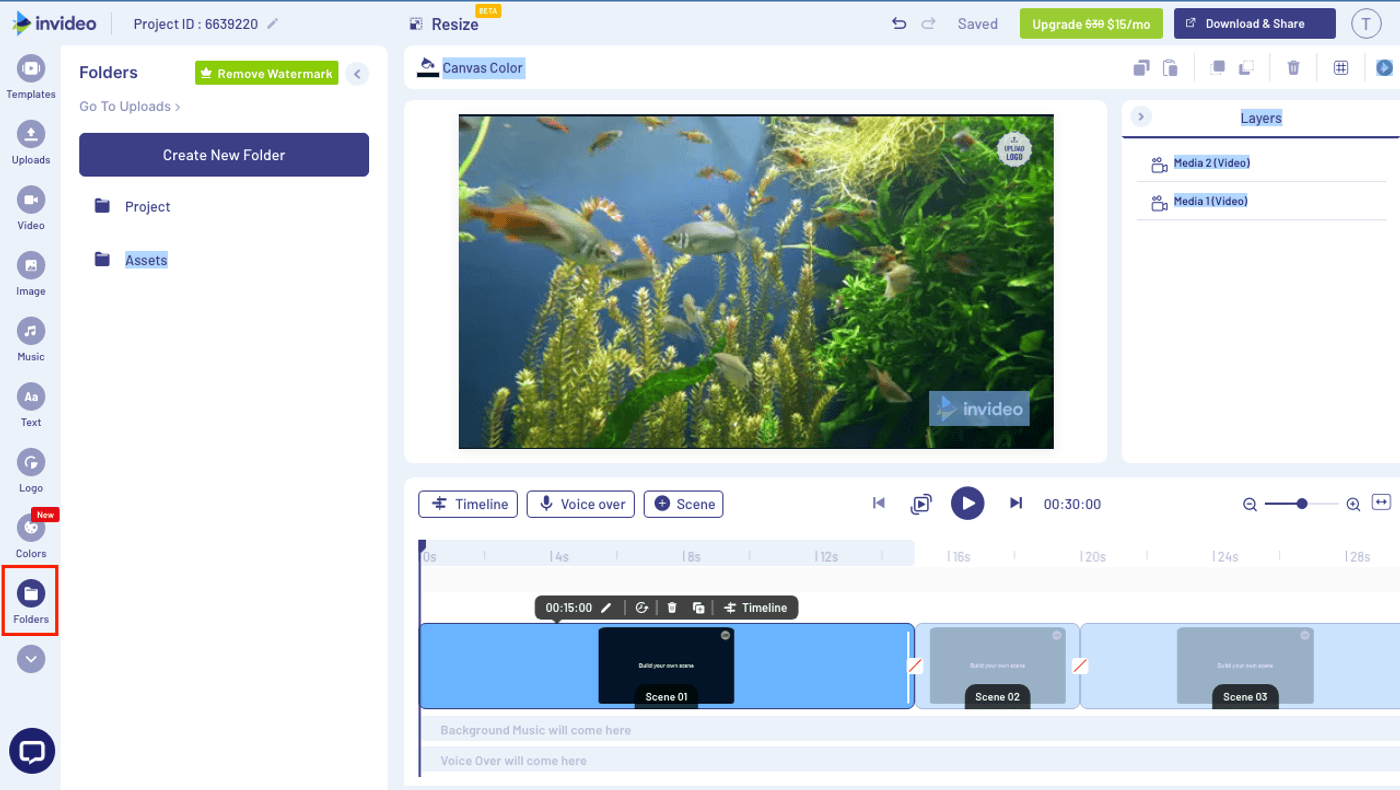
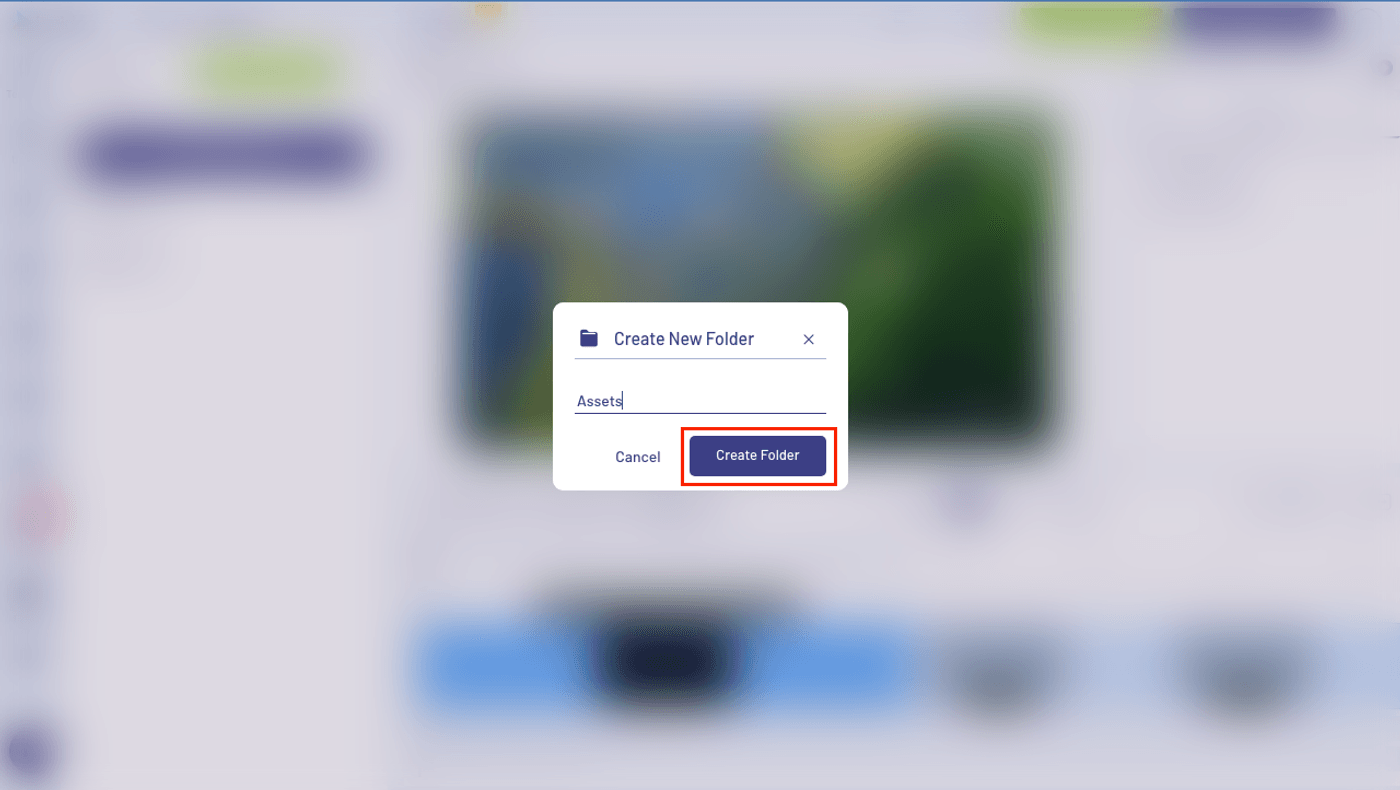
3. Click the “Create New Folder” and name your folder “Projects.” You can upload the unedited footage in this folder.

4. Next, create another folder called “Assets” to upload brand logos, music, etc., within the folder.
5. Upload your files and start editing your video.
8. Use The Right Hardware
This is probably one of the most commonly overlooked tips, but one that can have a greater impact on your editing workflow than all of the above tips combined. Using the right hardware for video editing prevents video lags and renders graphics with ease.
Here are 4 important PC components to consider if you want a smooth video editing experience:

(1) Storage Space
Since video files take up a lot of space, you’ll exhaust your internal storage quickly, even if your system uses the standard 500 GB SATA drive.
So, upgrade your internal storage or invest in an external SSD with at least 2 TB space to expand storage capacity and work with files on different devices.
Also, learn to manage your data efficiently to avoid wasting time when a drive crashes using the 3-2-1 rule.
According to this rule, you should have at least 3 copies of the footage in 2 different places with one place separate from another.
But if you want to secure your footage and access it from anywhere, use cloud storage options like GDrive or Dropbox to clone and backup your drives.
This way, you can continue the project easily even if all the drive’s data is lost.
(2) RAM
Not having enough RAM will result in slower playbacks and choppy videos while editing. So, invest in a good RAM to reduce the editing time.
The table below gives the recommended RAM requirements:

(3) GPU
A GPU or a Graphics Processing Unit works parallely with the CPU to render the graphics on your video with ease.
Using the right GPU can accelerate rendering by 5x. So, get a graphics card with at least 4 GB VRAM for swift rendering.
However, if you want your GPU to do more than the bare minimum and handle multiple tasks, you would have to upgrade to an 8GB VRAM card.
(4) CPU
Video editing takes a toll on the CPU as it’s one of the most processor-intensive tasks.
So, having a fast and powerful CPU means cutting down on rendering time and editing without worrying about lags.
Both AMD and Intel have a range of CPUs tailored for the video editing process. Check them out to see which one best suits your requirements.
9. Adopt An Assembly Line Method
An assembly line method or a standard process makes video editing easy and quick as it helps you focus on a single task at a given time.
If you don’t have a standard process to edit your videos, you may get sidetracked by time-consuming tasks like rewatching an edit multiple times before moving on to the next task.
To save time and decrease the project turnaround time, use this 5-step process:
1. Watch all of your footage and save only the best clips.
2. Then, add your scenes, edit and reorder them on the timeline until you’re satisfied with the flow of your video.
3. Next, add your music tracks.
4. Now, rewatch the video and adjust the transitions and cuts to the beat of the music.
5. Finally, fine-tune the overall audio experience of your video as well as add any sound-effects and voiceover you need in the video.
10. Edit Ruthlessly
The main goal of video editing is to tell a story that evokes emotion and encourages action. So, every scene, sound effect, cut, and transition must contribute to the story’s progression.
Here’s how you can trim unnecessary footage from your edits online using InVideo:
Step 1: Open the InVideo editor and select the Blank canvas option. You can now add high resolution stock footage from InVideo’s in-built library by clicking on “Video” on the left hand side panel.

If you’d like to use your own footage, upload it to InVideo, choose a blank template and add the uploaded video to the blank template.

Step 2: To trim the footage, use the sliders or enter the “in time” and “out time”.

Step 3: If you want to continue trimming the clip, click the “Add section” option.
For example, you might want to leave out the footage from 02:00-03:00 in an 8-second video.
To do this, set the “out time” to 02:00 and click “Add section.”
Once another slider appears, enter 03:00 and 05:00 for the in and out times, respectively.

Step 4: Once you’re satisfied, press “Done.” And the trimmed scene will be added to the timeline.

Your clip will be split into these sections and added to your scene. This method will come in handy if you want to cut a scene to add transitions and breaker slides.

Summing Up-
With these super tactical tips, you will save a lot of time and effort while editing your video. If you enjoyed this article and want to know more about how to make a video from scratch, read this extensive guide that’ll cover all the steps you would want to pay attention to, while making a video.
If you have any questions or want to continue the conversation, you can always hop over to the InVideo community and learn from 25K other marketers and video creators just like you!
For more quick tips and hacks on editing and creating videos, subscribe to InVideo’s YouTube Channel. Finally, if you’re looking to create thumb-stopping videos in minutes (even if you’re not a PRO)- sign-up for a free account on InVideo.io today.
This post was written by Mrignayni and edited by Abhilash from Team InVideo