


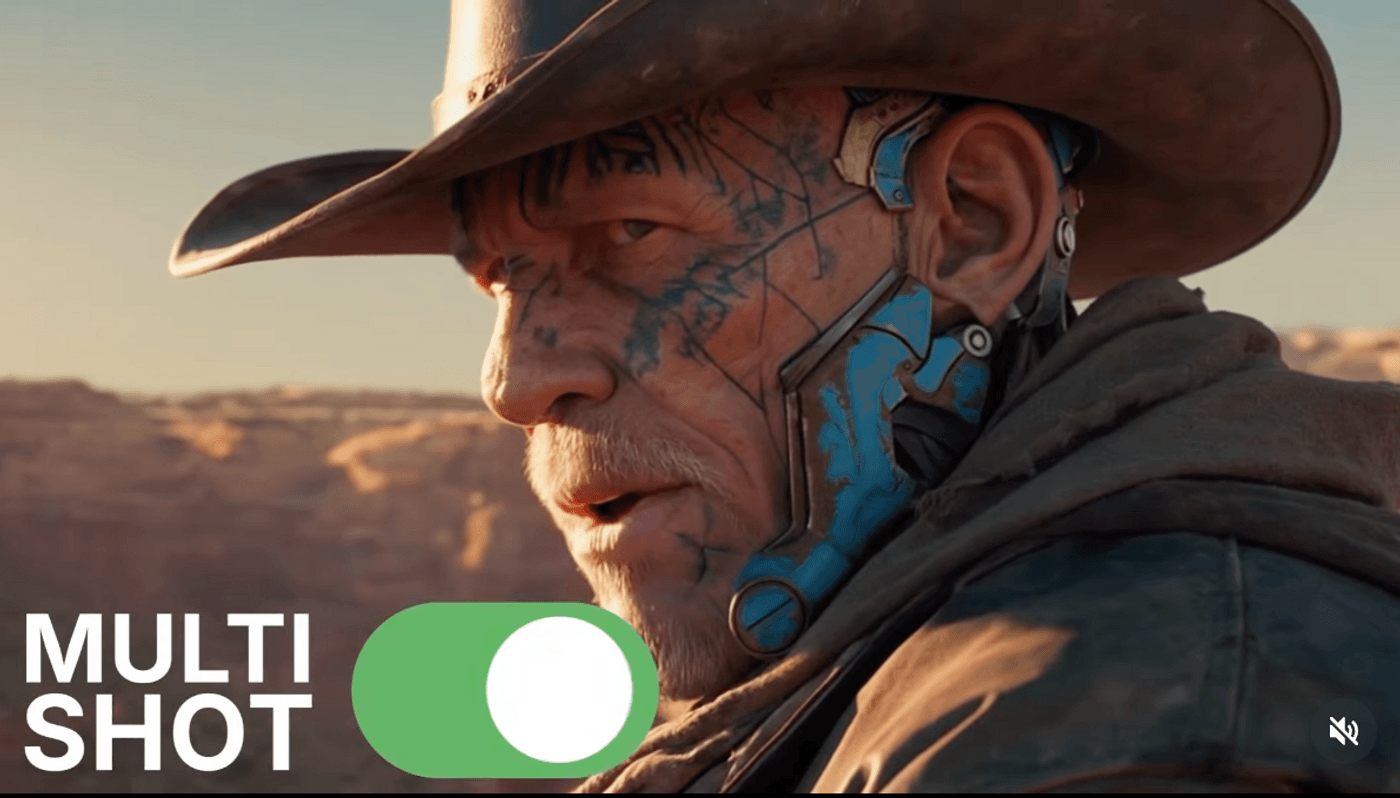
Kling 3.0 moves AI video from “cool one-off clips” to an AI directing system that plans and executes short, cinematic sequences end to end. Instead of spitting out a single shot, it thinks in scenes, camera moves, and continuity so you get something closer to a rough cut than a random reel.
For filmmakers, YouTubers, editors, and marketers, that means faster previsualization, social-ready hooks, and ad concepts you can test without booking a crew. This Kling 3.0 guide focuses on what has actually changed, the Kling 3.0 features that matter, how Kling AI pricing works, how to access Kling 3.0, and practical ways to fold it into your workflow.
What Is Kling 3.0?
Kling 3.0 is a short-form, scene-aware AI director that generates 3–15 second multi-shot clips from structured prompts, with built-in logic for camera work, characters, and audio. Instead of a toy text-to-video model, it behaves like a virtual director reading your shot list.
Under the hood, Kling 3.0 uses an integrated creative engine for multimodal creation, combining video, audio, and text so visual fidelity, motion, and sound stay cohesive across a clip, as outlined in the official release overview. That makes it far more usable for trailers, hooks, social ads, and previsualization than older clip-at-a-time tools.
For working creators, this hits several pain points at once: rapid previs without gear, platform-ready vertical or horizontal clips, structural control across scenes, and lower-cost experimentation before committing to live shoots. Because kling 3.0 is embedded inside broader suites like invideo’s kling 3 workspace, you can go from “idea in your notes app” to an edited, branded deliverable without stitching together multiple tools.
Core Problems Kling 3.0 Solves for Creators
Traditional shoots are slow and expensive if all you want is a test: a 10-second hook, a storyboarded scene, or a handful of visual directions for a pitch. Even existing AI tools often generate isolated “cool shots” with no continuity, which is painful if you need a sequence that actually cuts together.
Kling 3.0 tackles those issues with scene-aware generation, character and prop consistency, and native audio inside a single 3–15 second clip. You can preview story ideas, build short-form ad variations, and iterate visuals while spending credits instead of day rates. For social campaigns, that also means a better chance of maintaining a cohesive look and recurring characters across multiple posts.
Kling 3.0 vs Kling 2.6, Kling O1 and Generic Models
Earlier versions like Kling 2.6 and Kling O1 focused mostly on single, impressive shots or basic motion; Kling 3.0 shifts to fully planned, multi-shot storytelling with clearer camera logic, smoother transitions, and better continuity between beats. As one recent breakdown explains, this evolution turns Kling into a scene-level directing system rather than a clip generator.
Compared with generic text-to-video tools, kling 3.0 leans into structure: multi-shot design, character consistency, on-frame text, and native audio aimed at professional short-form work. You still will not cut a feature film with it, but for 3–15 second intros, narrative beats, and polished ad hooks, its design is tuned for production instead of novelty.
Features of Kling 3.0 Creators Actually Use
Let’s look at the Kling 3.0 features that show up in real workflows. These cluster around scene structure, camera control, character and text consistency, and audio you can actually keep in the final.
Together, they make Kling 3.0 much closer to a “client-ready rough cut” engine especially when used within a comprehensive tool like invideo.
1. Scene-Based, Multi-Shot Generation and Camera Control
Kling 3.0 can generate up to about 15 seconds with multiple scenes (roughly 2–6 shots) from a single structured prompt, as several user guides highlight. You describe each beat, its duration, the subject, and the camera behavior, and the model handles choreography between them.
Start and end frame control, storyboard-style prompting, and explicit camera instructions (pan, track, dolly, static) let you plan pacing like a director instead of gambling on whatever the model chooses. Filmmakers and YouTubers can previsualize sequences or stylized inserts, while marketers can encode hook / reveal / payoff structures into short ads and intros.
2. Character Consistency, Native Audio, and On-Frame Text
A big leap in kling 3.0 is how well it keeps characters and props consistent across shots inside a clip, with support for reference locking via uploaded material according to recent walkthroughs. That means your protagonist, product, or mascot actually looks like the same entity from shot to shot.
Native audio brings character-specific voices, better lip sync, and multilingual options suitable for dialogue-driven shorts and explainer-style content. At the same time, improved in-frame text rendering helps keep titles, offers, and subtitles legible and on brand, which is crucial for performance-driven ads and YouTube overlays.

3. Integrated Editing, VFX, and invideo Workflows
Kling 3.0 becomes far more practical when it plugs into a full editor. On invideo, the model sits inside a workflow environment with text, music, transitions, stock, and branding layers, so you can treat Kling outputs like raw footage.
A typical flow is simple: generate a multi-shot sequence with Kling 3.0, within the workflow tighten pacing, add logos and captions, and mix in additional footage. For more advanced polish, invideo gives access to models like Kling o1 to handle VFX-style fixes like relighting or continuity tweaks, so you do not have to regenerate the entire clip every time something feels off.
Kling 3.0 Pricing, Plans, and How to Access It
Kling AI pricing revolves around credits: you spend more for longer, higher-resolution clips and for using audio, no matter which platform hosts it. That means you plan work in terms of “how many clips and variations per month” rather than unlimited rendering.
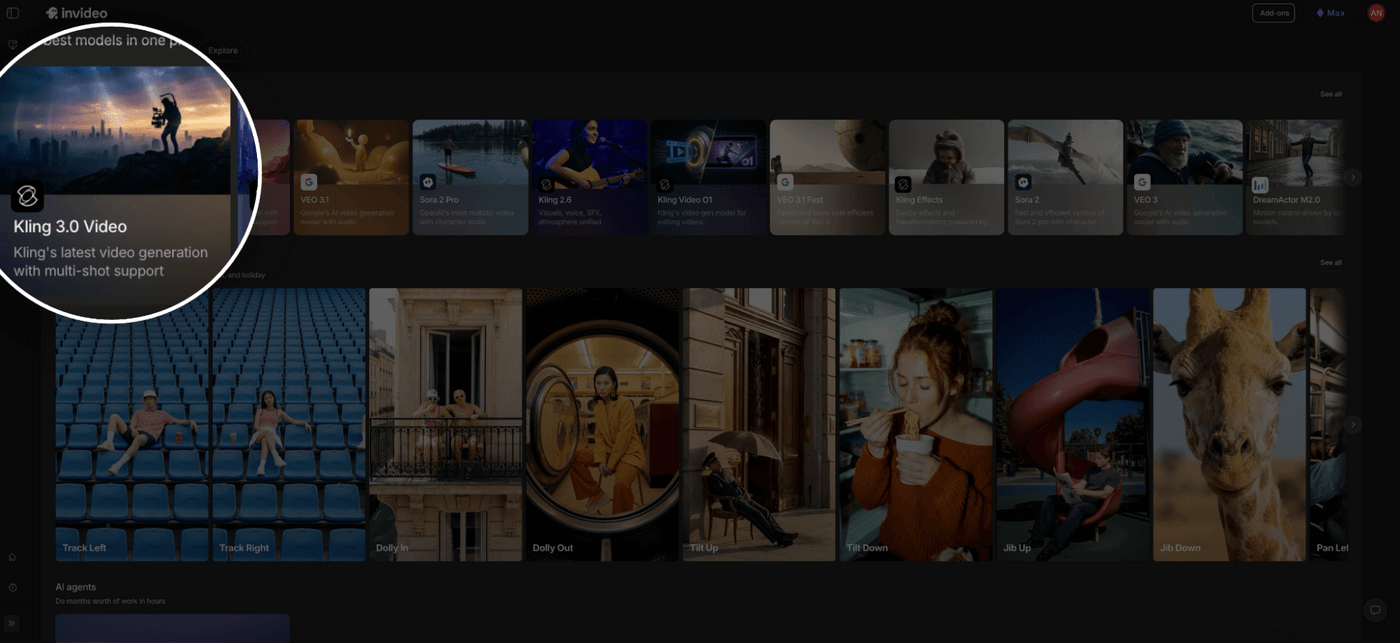
You can access kling 3.0 via its native platforms, through APIs, or embedded in creative suites like invideo.io, with individual hosts exposing slightly different controls and resolutions.
1. Credit-Based Pricing and Tiers Explained
In one commonly cited Pro configuration, a plan around $32.56 per month provides 3,000 credits, which translates into roughly 6 minutes of 720p or 4 minutes of 1080p video per month, depending on your mix of durations and audio usage according to a recent tutorial. For most creators, that is enough for a healthy batch of 3–15 second intros, hooks, or ad concepts.
A broader 2026 pricing overview describes a free tier with about 66 daily credits for short, watermarked tests, standard plans in the $10–$15 range with around 660 credits, and pro tiers in the $35–$40 band with approximately 3,000 credits and extended durations. Those numbers give you a rough sense of how much experimenting versus publishable content each level supports.
2. Matching Plans to Real Use Cases
If you are a filmmaker, high-output YouTuber, or an editor doing regular previs and intros, the Pro-style tiers usually make sense: you get higher resolution, more minutes, fewer watermarks, and less friction. You can reliably generate multiple 3–15 second sequences per week instead of constantly hitting limits.
Marketers and agencies tend to plan around campaigns: you might reserve credits for several ad variations, A/B tests, and client revisions, while using the free or standard tiers to explore scripts and visual tones. Hobbyists and new creators can comfortably stay on free or entry-level plans while they learn prompting and figure out which looks and formats they actually need.
3. How to Access Kling 3.0 in various different ways (Native, API, and invideo)
You have three broad access paths. Native Kling interfaces give you direct interaction with the model. API access is aimed at teams with engineers who want to embed kling 3.0 into internal tools or custom pipelines, as described in several API-focused comparisons.
For most non-technical creators, though, using kling 3.0 inside invideo is the most straightforward. You sign up, open a new project and use kling 3.0 from agents & models on invideo, enter a structured prompt, generate your clip, then refine it immediately on the invideo. If you want that experience, you can explore the dedicated invideo kling 3 page and treat Kling as one component of a larger editing and branding stack.
Getting the Best Results from Kling 3.0: Prompting & Workflow Tips
Kling 3.0 rewards people who think like directors. The more you treat your prompt as a shot list instead of a vibe description, the more coherent and cinematic your result will be.
This section keeps it simple: how to think in shots, how to anchor characters and text, and how to build a repeatable workflow inside invideo.
1. Think in Shots and Scenes, Not Vibes
Several prompting guides recommend labeling scenes or shots explicitly: “Shot 1: Wide, exterior…”, “Shot 2: Close-up…”, and so on. For each, specify framing (wide, medium, close-up), subject, key action, and camera movement, plus approximate duration if the platform supports it.
That structure gives Kling 3.0 clear narrative beats: hook, middle, payoff. Once you find a pattern that works for your channel or brand (for example, a 3-shot 9-second hook format), you can reuse the same skeleton and just swap the story details, which dramatically speeds up production.
2. Anchor Characters, Motion, and Text Clearly
Introduce main characters, products, and important props at the start of the prompt and keep their descriptions consistent across scenes to avoid random look changes. Be explicit about motion: “camera slowly tracks backward as the subject walks toward it,” “static camera, subject sits and speaks directly to lens,” and similar phrases give the model better guidance.
If you need text inside the frame, say so clearly: “bold white title text in the lower third reading ‘New Drop’,” or “subtitle-style text centered at bottom with soft shadow.” Kling 3.0’s improved text rendering and audio make it much easier to create self-contained ad units, explainers, and YouTube overlays when your instructions are specific.
3. Build a Repeatable Workflow with invideo
A simple, repeatable pattern looks like this: draft a short script or bullet the beats, convert those beats into a multi-shot Kling 3.0 prompt, generate your base clip, then use those clips to generate full-length videos on invideo with final assembly on any editing tool of your choice.
If something feels off visually, you can either tweak the prompt and regenerate or apply invideo tools like Kling O1 for VFX-style fixes instead of starting over. Once you have a few battle-tested prompts for intros, ads, or shorts, running them through invideo with kling 3.0 becomes a fast way to ship consistent, branded content on a schedule.
Is Kling 3.0 Right for Your Production Stack?
Kling 3.0 is built for one thing: short, scene-aware, cinematic clips with real structure, character consistency, native audio, and solid text rendering. If you live in the world of 3–15 second intros, hooks, teasers, and ad units, it is a strong fit for previs, social content, and even some final deliverables once you polish them in an editor.
Whether it belongs in your stack comes down to a few questions: how much short-form you produce, how comfortable you are planning around credits, and whether you are willing to learn structured, shot-based prompting. The lowest-friction way to test that is to experiment with kling 3.0 on a free or low-tier plan and, if you prefer an end-to-end setup, try accessing it through invideo, so generation, editing, and branding in one place rather than across a patchwork of tools.