
While the high-quality iPhone camera upgrades have opened limitless shooting possibilities that were limited to DSLR cameras, one of the main challenges creators face now is storing and sharing these videos easily. Higher quality videos tend to take up more space due to their large size, making you run out of space quickly and making it all the more difficult to share with your network.
The good news is that there are multiple ways to reduce compress a video on iPhone so that you can share these easily without losing out on quality. In this article, we’ll show you exactly how to make iPhone videos smaller in four different ways.
Here's what we'll cover:
1. How to reduce video size while recording?
2. How to compress a video on iPhone after you have recorded it?
3. How to compress a video for email on iPhone
4. How to compress a video without reducing video quality?
1. How to Reduce Video Size While Recording?
One of the easiest ways to compress a video on iPhone is to reduce its size in the filming phase. Simply record it at a lower resolution while shooting and your file size will automatically be smaller. Here’s how you can make videos smaller in under a minute on your iPhone:
Step 1: Open your iPhone Settings and click on Camera

Step 2: Under your camera go to the Record Video setting and you’ll see it has a resolution and frame rate set.

Step 3: Simply go ahead and click on the resolution of your choice. The 720p at 30fps is the lowest this iPhone offers and it’s quite the space saver too.
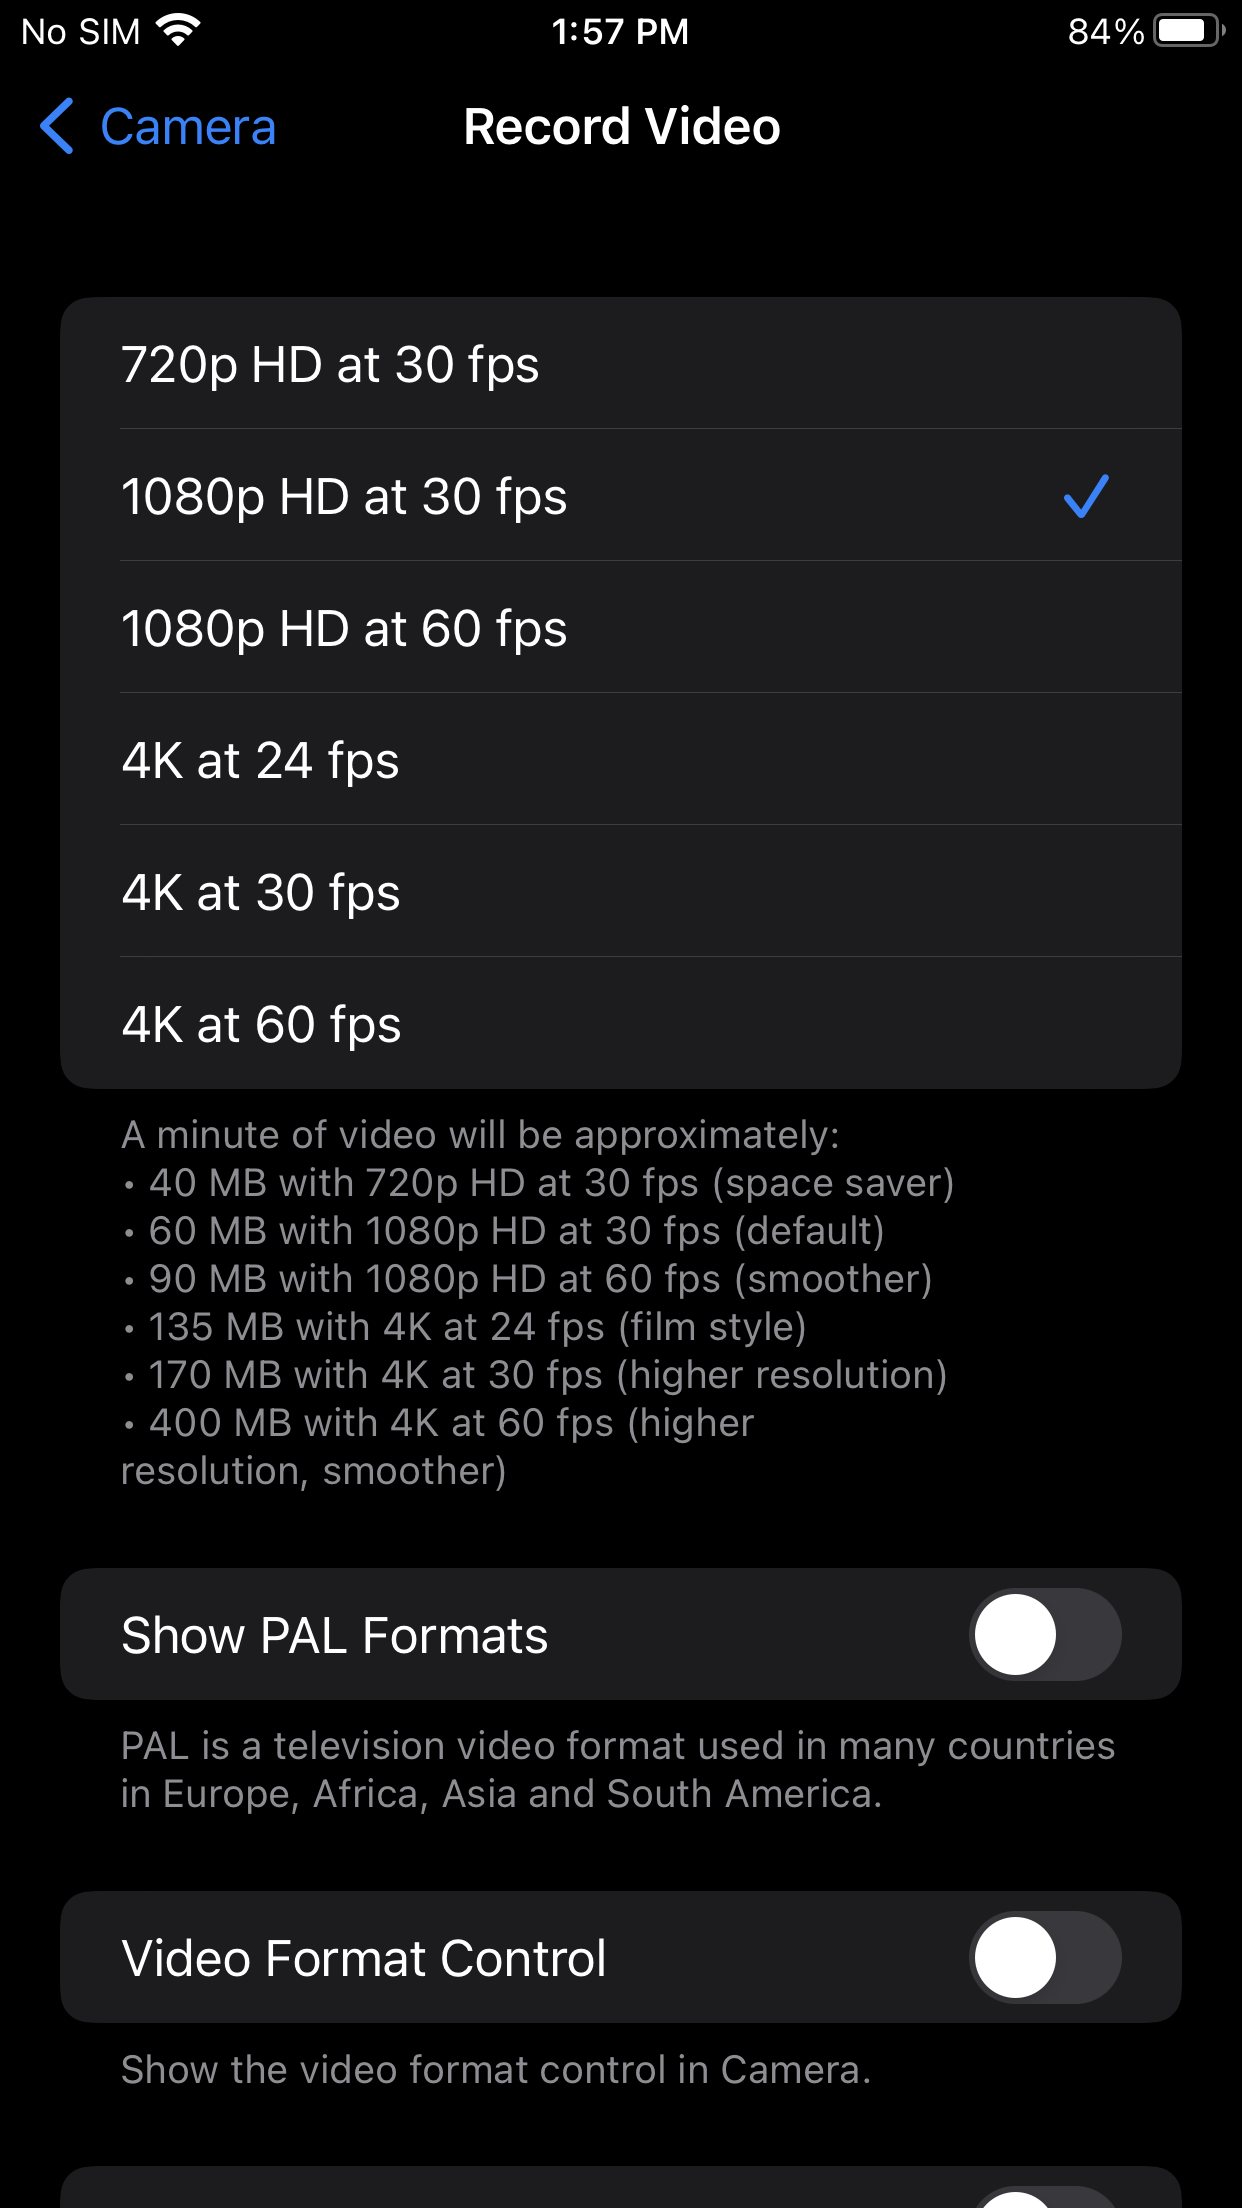
You can also see Apple has added a note on how much video space every resolution will take. Super simple right? While this is a great way to save phone space and record videos at a lower resolution- it doesn’t help if you want to record high-quality cinematic videos. For that, the answer lies in compressing a video on your iPhone after having recorded it in a higher resolution.

2. How to compress a video on iPhone after you have recorded it?
Bid adieu to “large file size” errors while trying to share a good-quality video. The solution is super simple: compress your video to a smaller size. As there is no default method to do this on Apple, you would need a third-party app. Filmr is a go-to video editing app that lets you compress videos in super quick steps while hardly taking any phone space.
Here’s a step-by-step process:
Step 1: Download and open the Filmr app on your iPhone
Step 2: Click on Camera roll and choose the video you want to compress from your gallery

Step 3: You’ll be taken to this editing timeline. Click on the share icon on the top right.

Step 4: Export in a lower resolution (you can go as low as 480p) and save it to the gallery.

3. How to compress a video on iPhone for email?
Now let’s say you want to send across a hiqh quality video file to your team or you cannot compress your video by lowering the resolution but still need to send it across. It’s not possible to compress each and every video file size when your day-to-day work involves sharing heavy video files with remote teams. For that, one of the best ways is to share a video link after uploading it to a sharing app. We’ve listed three ways:
1. Upload heavy files to a cloud service such as Google Drive, Dropbox, or OneDrive and then set your link sharing settings depending on who you want to share the video with and then simply send across the link over email.
2. You can also share your video file through a file sharing service like WeTransfer that lets you upload files up to 2GB in size. Again if you’re doing this on your phone, you can simply upload it to WeTransfer and you’ll get a shareable link through which your recipient can access the video.
3. Finally, you can upload your video to YouTube and tag it as ‘unlisted’ or ‘private’ and share the link with your collaborators over email.
4. How to compress a video on iPhone without reducing video quality?
Now let’s say, you don’t want to send a video across email and you cannot compromise on quality because of the nature of the project, what do you do then? You need to know how to reduce the file size of a video without compromising on quality. To do this, the only way you have is to trim or cut out parts of the video to reduce its duration, thereby reducing its size.
You can also split your video into parts and share each individual part with the recipient in order to preserve quality.
Thankfully, it’s super easy to trim and cut your videos using the Filmr app and here’s how you can do it in under 5 minutes:
Step 1: Download and open the Filmr app on your iPhone
Step 2: Click on Camera roll and choose the video you want to compress from your gallery
Step 3: On your video editing timeline, trim the unnecessary parts from your video.
Step 4: You can even remove the video sound to reduce video size. Click on the three dots on the left of the video editing timeline. Click Volume and remove sound from your iPhone video.
Step 5: Save in your preferred resolution and share your video with ease.
These were 4 super easy methods to compress your videos on iPhone. Now, you can make videos small and share them without wasting any time at all, while also maintaining their quality. If you want to further understand how to edit videos on your phone, check out this tutorial.
And if you prefer learning via videos, you should definitely check out our YouTube channel where we share daily video creation tips and tricks, the latest video trends and ideas and help you make more money as a video creator.
This post was written by Zoya and edited by Adete from Team InVideo