Editing videos on your iPhone is now easier than ever for two reasons – after the latest iOS update, the native photos app is better equipped to let you perform better edits on your videos right from your gallery. And secondly, the number and quality of video editing apps for iPhone continue to evolve, giving you no reason why you should have to rely on desktop software for editing videos shot on your iPhone.
That is why, in this article, we will show you exactly how to edit videos on iPhone using the native Apple Photos application as well as the intuitive Filmr app.
Let’s get right to it
How to edit videos on iPhone using the Photos app?

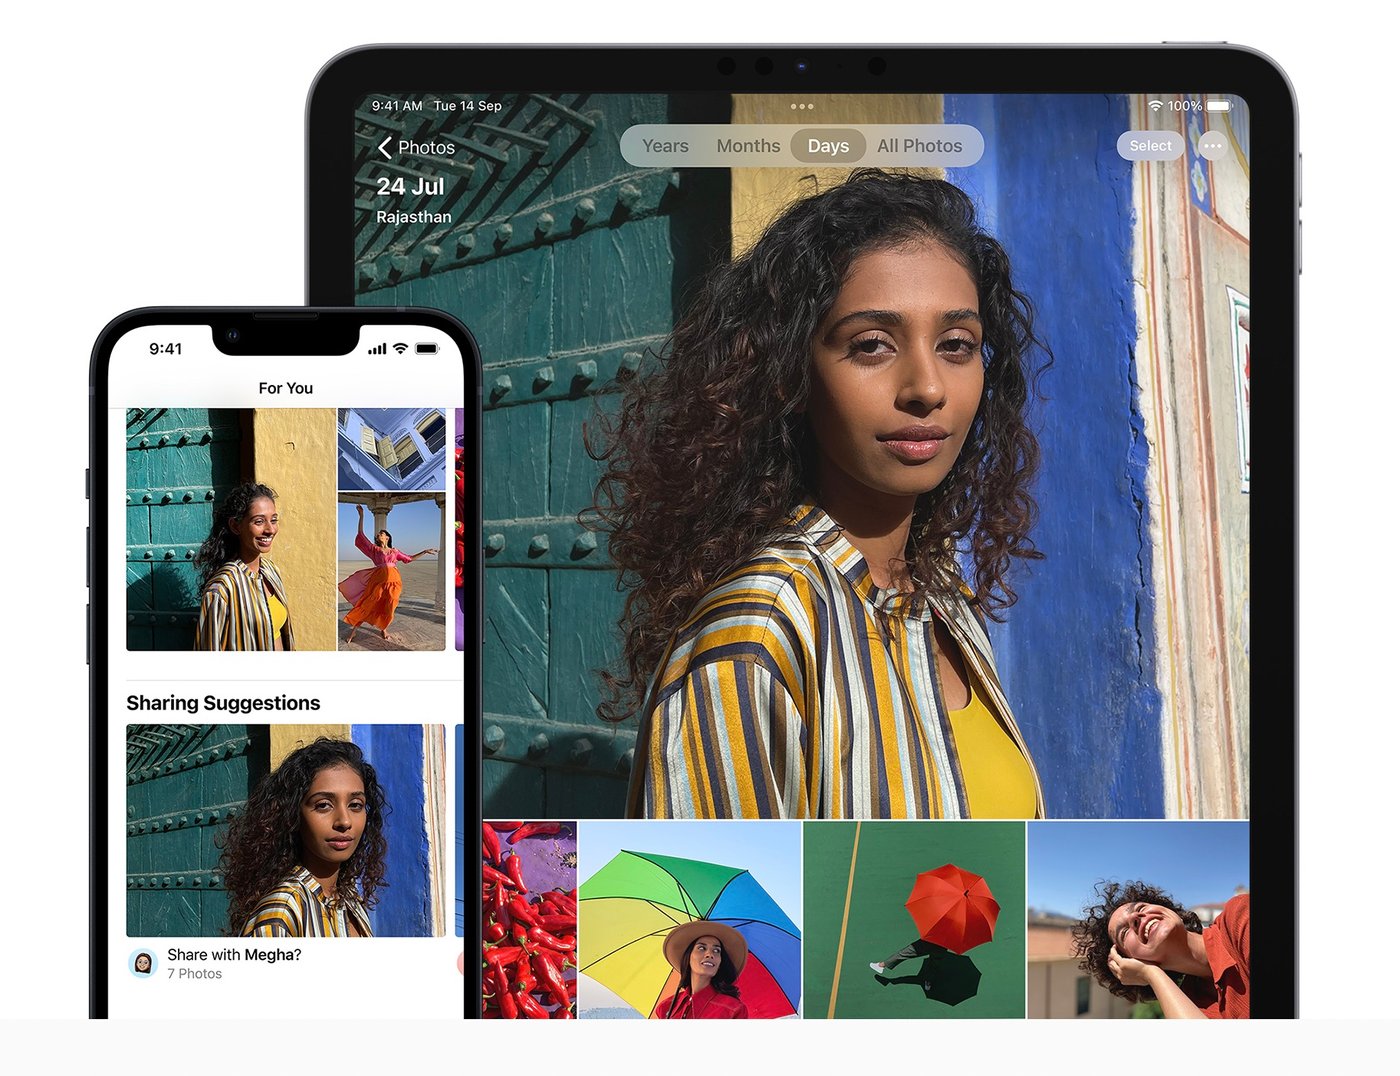
Your iPhone comes pre-equipped with the Photos app but you can always download it in case it’s missing. This is the place where all your photos and videos are stored by default. Now, if you have been wondering how to edit videos on iPhone without an external editing app, the Photos app is a good option for making basic edits.
Some of the edits you can make with the Photos app include trimming, cropping, removing sound, and adding filters to your videos.
How do I trim videos on iPhone?
Step 1: Open the Photos app on your phone and you’ll be taken to the gallery where you’ll find all your media in one place.

Step 2: Open the video you want to trim. Then click on the Edit button on the top right. This will open up the editing options.

Step 3: Simply drag the slider from the endpoints to trim your video clip and remove the unwanted portion. Click Done to save your video.

How to edit audio on iPhone videos using the Photos app?
While you cannot add a soundtrack or sound effect to your videos directly from the Photos app, you can definitely remove the video’s sound in under a minute.
All you need to do for that is open up the editor (as explained in step 1 above) and you will see a Sound icon on the top left corner of the screen. Tap on it to toggle the sound on and off.

How do I crop videos on the iPhone?
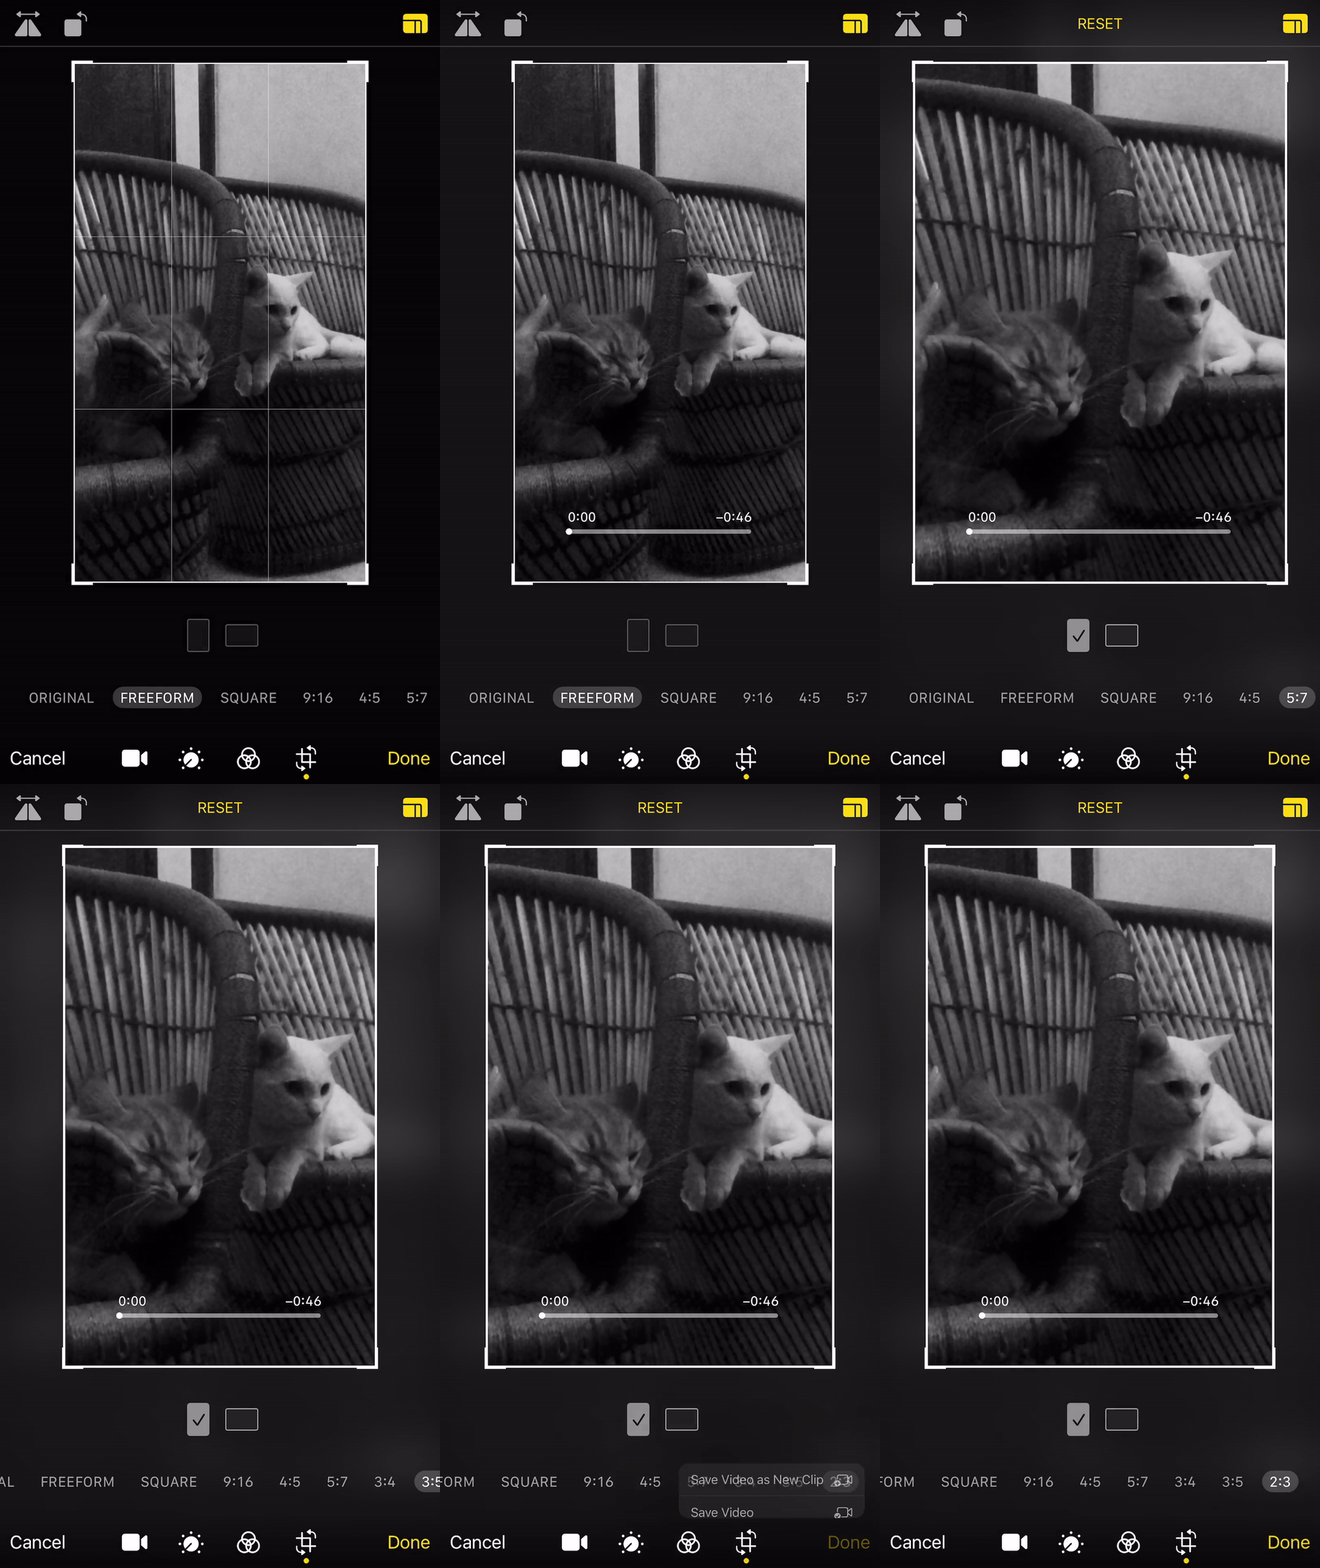
Cropping is another functionality that the Photos app offers and it gives you several of the popular aspect ratios as well as a freeform option to create a custom crop.
To crop your video using the iPhone Photos app, simply open up your video and click Edit. You will see the Crop as the right-most icon on the bottom panel. Once you click on it, you will see Formatting options on the top right corner. You can click on that to select the dimensions you want to crop your videos to.

By now, you must know how to edit videos on iPhone using the Photos app. But even with the latest updates that allow you to try video colour correction and try a bunch of filters, the app doesn’t have the flexibility of seasoned video editing apps like Filmr.
This is why in this next section, we will take you through a step-by-step tutorial on how to edit videos on iPhone using the Filmr app that lets you do a lot more including adding music, transitions, and more.
How To Edit Videos on iPhone Using Filmr?

Filmr is a user-friendly video editor app for iOS that can help transform even the most basic clips into stunning videos. This iPhone video editor has a simple and intuitive interface that lets both beginners and seasoned creators edit videos on iPhone with ease.
Filmr comes with exclusive filters, effects, and ultra-smooth transitions which further simplifies video editing on iPhone and gives your videos a professional look. What makes Filmr one of the best video editing apps for iPhone is that it also has a huge music library with over 20 million royalty-free songs and allows you to add songs from Epidemic Sound if you have a subscription with them.
Here’s a quick glimpse into what all Filmr has to offer:

What is Filmr best for?
Filmr is an intuitive iPhone video editing app that lets you create professional edits in a matter of minutes. It is great for editing videos on the go without compromising on quality or having a watermark over your videos - some of the most common issues users face with editing on iPhone.
With over 150 effects and filters that match global video editing standards, Filmr is a great option for both amateurs as well as professionals.
How to edit a video on iPhone using Filmr
Step 1: To edit videos on iPhone using the Filmr App, download the app and sign up for a new account. If you already have an InVideo account, you can sign in using the same credentials. And if you have a paid plan with InVideo you will automatically get access to Filmr’s Pro plan. This will unlock a lot of additional effects and filters that are only accessible to the pro users to further simplify the process of editing videos in iPhone.

Step 2: Now once you’ve signed in, you will see two options to import footage – either import it from your iPhone gallery or record it using the Filmr camera. For this tutorial, we will be importing the video by clicking on the Camera Roll option.

Step 3: Once you import your clips into the Filmr app, it will open up the editor which boasts of a vertical timeline, unlike other mobile apps that have a horizontal timeline as is the case with desktop editing apps.

Step 4: Once your clips are added to the editing timeline, you can begin by choosing the correct aspect ratio for your video depending on where you want to share it later. Simply click on the Format icon on the top of your screen and choose the ratio you want.

Step 5: Now lets see how you can cut or trim a video on your iPhone using the Filmr App. Simply select the clip you want to trim and drag out the ends as shown to trim it.

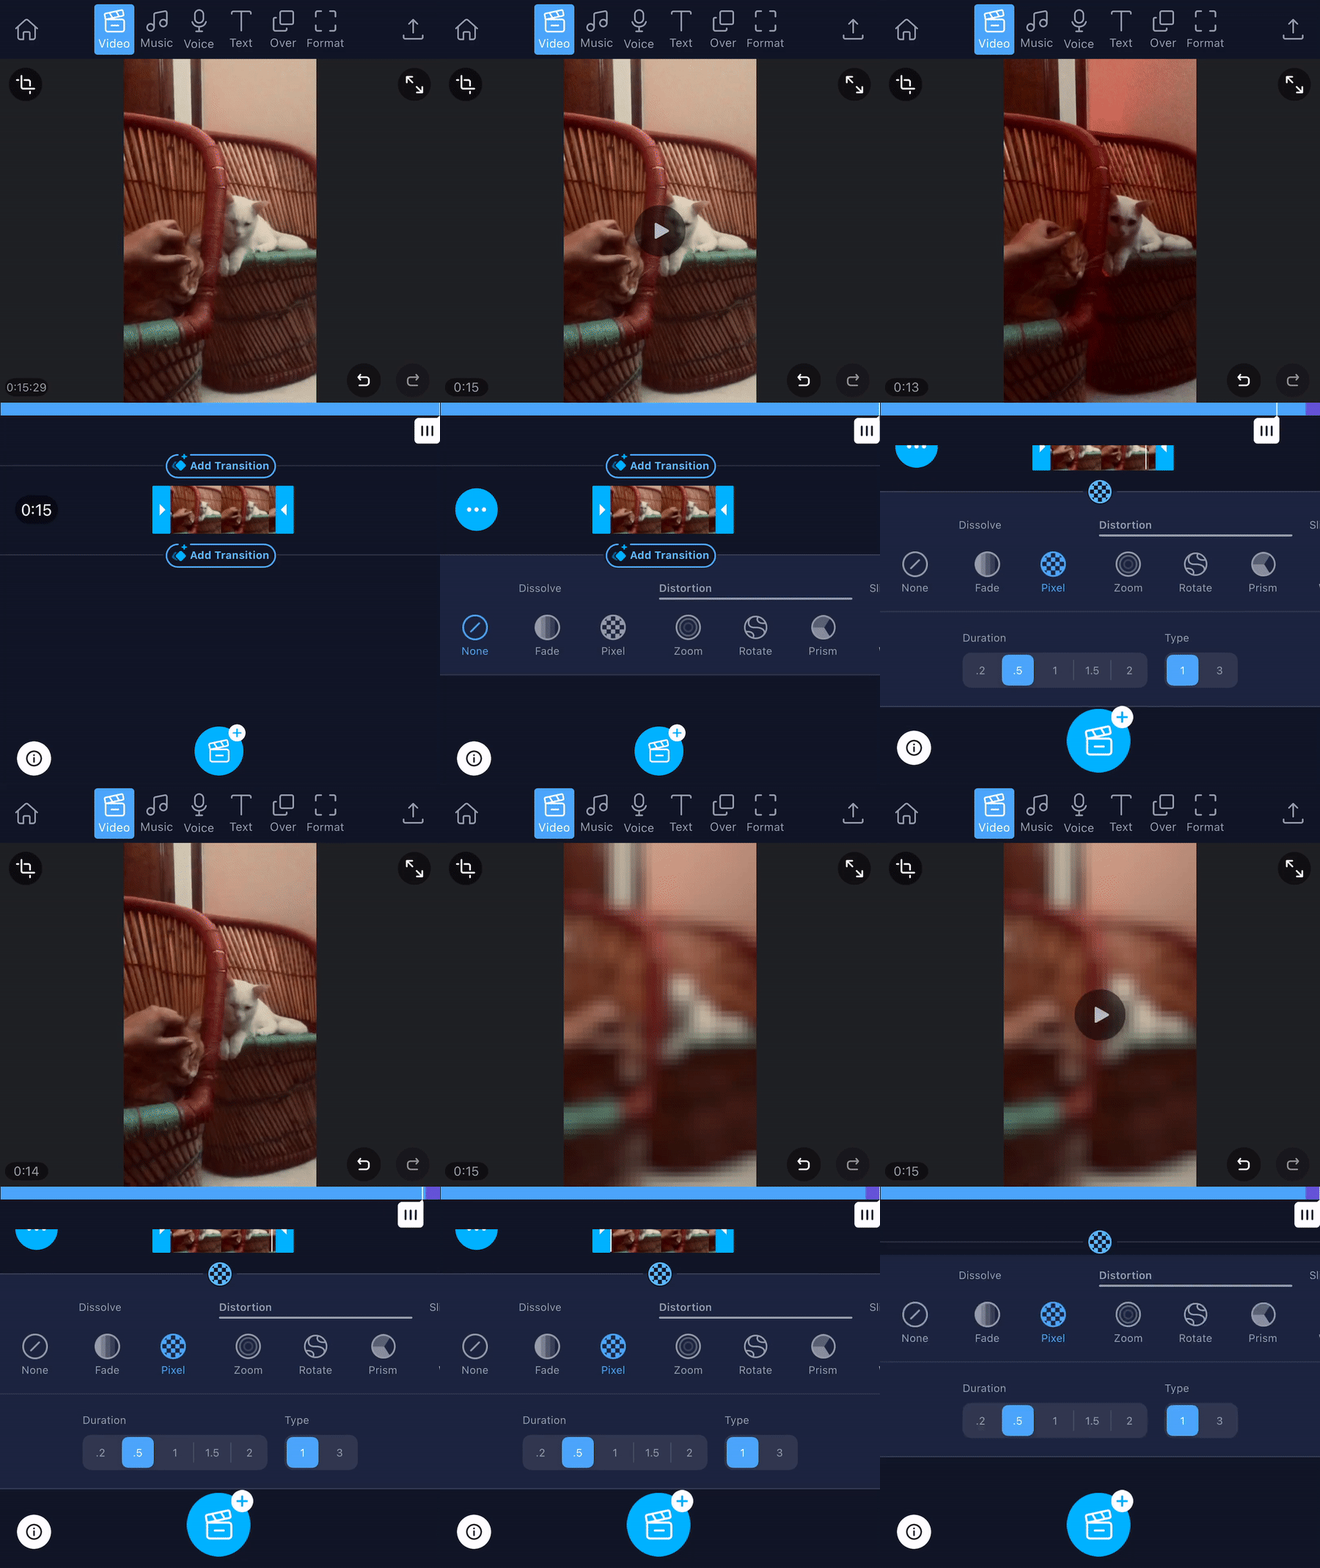
Step 6: Next, to make your video more appealing, you can add a transition in between two video clips by clicking on the Transition icon. There are 25+ professional transitions if you’re using Filmr PRO.

Step 7: If you are wondering how to edit audio on iPhone videos, you can add music or voice overs using the Filmr app itself. Within the editor, tap the Music icon to the right of the Video icon. Then, click on Tap to add music.

Step 8: Click music to go to the music library to select from Filmr’s library or click on files to pick music from existing files on your phone. Click on the song you want and it will get added to your timeline.

The green layer below your clip is your audio file. You can change the duration of the music by trimming it. If you have a subscription to Epidemic sound, you can add genre-based sound effects to your Filmr timeline. You can access these via mood to go with your video.

Step 9: You can even add a voice-over to your video. Just tap on the Voice icon next to music to get started. It’ll also be saved in the music timeline and can be trimmed with a simple drag and drop.

Step 10: Now let’s look at how you can add text to your videos using Filmr. Simply click on the Text icon on the top panel of your screen. You’ll see a variety of font options - choose the one best suited for your video.

Once you have selected your preferred font, you increase or decrease text size, change the color and the placement of the text as well as adjust the duration of the text, which comes in very handy for captions.

Bonus tip: If you are adding subtitles, you can choose one font across your video clips.

Step 11: Now that you are done with video editing on iPhone, you will now export your video. Simply click on the Share icon on the top right of the screen. You can save it locally on your phone or directly publish it to any of your social media platforms.
Note that in order to post directly to social media platforms you need to have a Filmr PRO account, which gives you access to over 150 effects and filters to further simplify iPhone editing. You can upgrade for as low as $5 for a month or better yet just $40 for the full year.

Summing up
Now that you know how to edit videos on iPhone, you’re fully equipped to create stunning videos on the go without having to rely on desktop software. If you want to learn more about the top video editor apps for iOS, you can check out this detailed blog.
And if you prefer learning via videos, you should definitely check out our YouTube channel where we share daily video creation tips and tricks, the latest video trends and ideas and help you make more money as a video creator.
This post was written by Zoya and edited by Adete from Team InVideo


