


Did you know that people retain 95% of a message when they watch it in a video, compared to 10% when reading it in a text? That makes videos a super effective way for you to train your employees.
Plus — the cool thing about training videos is that people can return to them whenever they need to refresh their knowledge.
And that’s precisely why — while you don’t have to be an expert filmmaker — it’s worth working on your skills to create training videos as an employer or business-owner.
The process can seem daunting to kick off, and that’s why we’ve put together this guide which dives deep into what makes a great training video, tips to create them, and where to host them — so you have everything you need to create an effective training video that drives home the point. In case you’re super new to this space — skip ahead to the FAQs first, where we cover the fundamentals.
Here’s what we’ll cover:
(1) What makes a great training video?
(2) 10 Tips for Making your Training Video Super Engaging
(4) How to Make Training Videos
(5) Where to Host Training Videos
(1) What makes a great training video?
Training videos anchor themselves to a specific learning objective. A great training video is easy to understand, has a logical structure, and remains relevant and memorable.
The production and technical aspects may require some practice, but are easy enough to learn.
Here’s how you can make a great training video:

(A) Clarity in Identifying the Learning Outcomes
Stick to this. Don’t try to squeeze in too much information that might overwhelm your viewer. Just set out to do what the video asks; not more, not less.
When you plan your video’s content properly, not only do you show respect to your viewers, you also make sure your video drives home the point you are trying to make. If the information is irrelevant, it is unlikely your viewer will complete watching the video.
Here’s a video which details 5 Do’s for Employee Onboarding. Notice how it’s using a presenter, but pairing the information she provides with text, and optimising each and every second of the video.
Make a video where you know exactly what message you're going to deliver; don't confuse or jumble your viewer by adding extra information.
(B) Understanding the Needs of Your Team
Tailor the video to your team or staff’s needs.
For example, if you’re training young people who are well-acquainted with social media, and spend two minutes explaining what Twitter is, it’s likely they will lose interest. Without understanding your audience, you can’t decide which information is relevant and what isn’t.
Consulting your team/staff is also useful in streamlining the process in a realistic way, as well as in taking out the superfluous information and identifying and addressing gaps that need to be filled.
(C) Finding the Right Format for Your Video
Once you’ve decided on your topic and learning outcomes, you will have to decide which formats or e-learning tools best suit your topic.
Sometimes, it’s also not just about what you’re saying, but how you’re putting it. For instance, Turkish manufacturer EAE Elektrik decided 3D animation was the best way to train people to install their cable trays.
The key takeaway? If your product is complex, a format like 3D animation is the best way to demonstrate its capabilities in a training video.
We will be circling back to this point and doing a deep dive into the various formats or types of training videos later on in this piece.
(D) Decide on the Length of Your Video
Here are the three factors to consider:

If you try to shorten a video because you think your viewer’s attention span is small — that’s where you’re making a mistake.
The content should guide the length, and longer videos are alright, as long as they are explaining advanced and detailed concepts or segmented.
(E) Create a Script & a Storyboard
You might be all set to jump into production now, but while the idea might be clear in your head, replicating that idea into a video is not that simple. We strongly suggest you storyboard first.
A storyboard is nothing but a combination of the script and corresponding visuals for each scene. It allows you to break down your concept visually, and also zero in on key visuals. These can be rough sketches, or screenshots, arranged into the proper shot by shot sequence. If you want more details on how storyboarding works, check out this article.
Here’s what a storyboard can look like:

See how simple it is?
Don’t agonise over making intricate and artistic story-boards; the point is just give your future self a reference! A storyboard is ideal for videos that include a lot of footage. If you are doing a static video that is more likely to be presenter-style, then perhaps just writing a script is enough.
Now that all the groundwork is done, you are finally ready to make your video. Before we get into the technicalities, let’s delve into tips for making a super-engaging video.
(2) 10 Tips for Making Your Training Video
Here are 10 tips to create a training video that is super engaging.
Tip #1: Use A Result-Oriented Approach
The idea is to solve a problem your team is facing, so focus on solutions and make sure you are very specific about the problem that you’re trying to solve.
For example, instead of saying: “We’ll be looking at business-oriented strategies,” say — “By the end of this video you will be able to successfully navigate the most difficult business negotiations.”
Here’s another example:
If something isn't working for your business, it's time to flip the script.
Tip #2: Keep the Introduction Short
Ideally, you shouldn’t take more than a minute and a half for the introduction. If you spend far too much time just introducing the topic, your audience will definitely feel like their time is being wasted.
The meat of the video should set out to solve a problem and feel like an investment of time for the viewer. Get to the main crux of the video as soon as you can.
Here’s a look at how it’s done:
Tip #3: Use Your Body Language
Most experts agree that 70—93% of all communication is nonverbal, so besides using language that your audience can understand and relate to, it’s also important to get your body language right on-camera.
Take a cue from here:
Tip #4: Segment Your Videos
If your video is long, but it’s broken into short segments, it becomes a more easily digestible watch for any viewer. Break your video into chapters if possible. This will also allow your viewer to skip over parts they already know.
Let’s say you bought a fish you want to fillet. Here is a really long video that teaches you to fillet every fish possible.
It’s 34 minutes long! But you’d still watch it. Why? Because it’s segmented on YouTube, and you can just skip to the part where he’s filleting the type of fish you have.
Not only does segmenting your video make it easier for your viewer to navigate your video, it is also a great strategy for when you need shorter videos to circulate on your social media. If your topic is vast and expansive, make sure you script it in a way that it becomes easy to segment from the get-go. Save yourself — and your viewer — some time!
Tip #5: Mind The Orientation of Your Frames
Simply put — it depends on which platform and device these videos are going to be watched on. Just remember — if the video is going to be viewed on a phone, shoot vertically (aspect ratio 9:16), and if it's going to be viewed on a laptop, then shoot horizontally (aspect ratio 16:9).
If you’re not sure about the aspect ratio of your smartphone, laptop, or tablet, just head to ‘What Is My Resolution?’ — a simple web tool for checking your display resolution and aspect ratio. If you want to dig deeper, be sure to go through our article on aspect ratios.
The correct orientation of your video matters a lot and adds watchability. This tip is important for when you’re shooting your training video on your phone.
Tip #6: Add Text & Subtitles to Your Training Video
Not only do YouTube captions increase views and engagement, they also increase accessibility. They allow people to view your videos in loud environments and enable those with hearing disabilities to access your content, too.
It’s also worth considering that a large part of the world speaks English as their second language, and captions and text may help in decreasing problems with accents.
Here’s one way to add text to your videos — highlight the main points.

If you want to learn how to add text to a video, check out this tutorial:
Tip #7: If You Can’t Find a Professional Mic, Find A Room With A Low Echo
The sound of training videos is extremely important, and should definitely be supplemented with subtitles.
While you can find some affordable and effective professional mics to use — if you can, you should still record in a room with low echo. Usually, rooms with wooden flooring and lots of furniture have low echo. Here are some other ways to reduce echo in an affordable way.
Tip #8: Be Careful with Lighting
Even if your video is great in every other way, if your lighting is too dark, too bright, or looks amateurish, it’s going to put viewers off; so don’t depend on just “fixing it in post production”.
Lighting makes a big difference to the quality of your video, so prioritise planning lighting before you start filming. For instance, with a presenter-style video, your subject is probably one of the main focuses in this type of a training video. Ring lights are the best option for lighting up a single person in the video.
Since it’s likely you are going to be using artificial lighting —
- Avoid ‘spotlighting’ your subject in direct pools of light. Avoid overhead lighting as well as it causes unflattering shadows.
- Using little or no shadows is best for training videos, and it creates a more open and approachable vibe.
- Below, you’ll find a few techniques which can be used to achieve specific effects. We suggest you go with the far-right option.

Source: Wordstream
Here’s a YouTube Creator Academy video on effective lighting for a high-quality video:
Tip #9: The Length of Your Video Depends on Your Content
We’ve already discussed how the content should determine the length.
Here are a few more useful guidelines on deciding upon the length of your video:
Approximately 30 Seconds: This length works best for tutorials that address a specific aspect of a much bigger process. It can also be great for a repurposed version of the full video that you’ll add a call-to-action to, that you’ll likely put out on social media.
Something like this, for instance:
Approximately 1 minute: This is pretty similar to the previous length; it’s a great length for tutorials that have a longer written component.
Recipe videos, for instance, work well at this length.
3:00-5:00 minutes: Training videos of this length can address more advanced topics, but still carry on at a quick pace. For social media platforms, you’ll likely have to edit them to a shorter length.
7:00-10:00 minutes: We are now getting into sketch-style tutorials and/or detailed screen recordings. Video editing, software and post-production tutorials are usually about this length.
Like this one, for example:
15:00+ minutes: These are straight-up deep-dives into complex topics, as a part of which the information is all presented and depicts a step-by-step process, perhaps even in real time. This could even be a live broadcast on social media.
Tip #10: Add Resources at the End of Your Video
In a shorter video, it might be difficult to go into great detail about the topic chosen. But there’s lots of ways you can pack in more information without adding to the length of your video.
Put in a quiz at the end of your video, or even a resources list if the topic demands more in-depth research. A bibliography, if teaching an academic topic, can be great too.
If none of these are helpful for the type of video you’re making, consider adding just a short summary at the end. Summaries are helpful for the viewers to remember what they watched in the video, and to reinforce their learning. This way, they won’t have to keep rewinding your video to look up certain information.

If you’re looking for more tricks to help you figure out how to make a great training video, be sure to check this out
Now that we’ve looked at tips on what makes a great training video, let’s look at things you definitely should not be doing.
Here’s an old video from the 90’s that chalks out literally everything you shouldn’t do in a training video — all rolled into one:
Now that you’ve had a good laugh, let’s move on to the types of training videos.
(3) Types of Training Videos
Training videos are there to get the job done, whether you want to familiarise your staff with company policy, or show your viewers how an oven at a fast-food restaurant works. But to optimise your information, you need to find the right type of training video for your purpose.
Employers, business owners — we have outlined below not just the types of training videos, but the scenarios in which you can use them.

1. Presenter-Style Training Videos
A person stands in the centre of the screen, and uses multiple visual aids to explain their points. This style of video can incorporate many techniques, such as animation, screencasting, etc. in the middle. This is also referred to as a “live-action” video; it humanises the content by putting a face to it.
Another way the presenter-style video can be used is to have demonstrations. This is especially important when teaching students how certain equipment works before a class.
Scenarios to Use Presenter Style/Live-Action Videos
This type works best for longer concepts.
Here are a few scenarios that would be relevant:
- When you want to showcase a person or a team.
- When you want to have an interview style of training. This is also called a "talking head" training video.
- When you want to create a welcome video.
- When your content demands you create an emotional bond with your audience.
- When you want to promote a sale.
- When you want to show your brand story.
- When you want to show your products in action.
- When you want to generate ideas for your audience on how to use your products.
- When you want to switch back and forth between different modes of presentation, but give a human face to your narrator.
- When you want to do live training videos.
2. Screencast Training Videos
A screencast video is composed of screen-recordings with an audio narration to explain a concept. These can be made quickly, and with lower production value, as opposed to a tutorial. Screencasts are perfect for training people on how to use a software, or perform some software-related functions.
Scenarios to Use Screencast Videos
Screencast videos are great when you want to get a new employee up to speed with the functioning of the workplace or specific software.
Here are a few scenarios that would be relevant:
- When you don’t have a big budget.
- When you want to relieve your customer support staff from answering the same questions about using certain applications.
- When you want to make micro tutorials, such as how to safely remove your flash drive.
- When you want to make a demo.
3. Tutorials
This is an instructional video that seeks to teach something step-by-step, often with direct instructions. It can also use some interactive elements, such as quizzes.
Scenarios to use Tutorials
This is a great option when you release new features on a software, or have to give step-by-step instructions, such as in a recipe, for example.
Here are a few scenarios that would be relevant:
- When you want to use presenter-style and screencast together to explain a concept.
- When you need to give hands-on training.
4. Corporate Training Videos
These types of videos are used to train employees about certain aspects of the work; whether this is about customer service, hygiene techniques, shifts and schedules, or other scenarios in the workplace. This is a type of training also used compulsorily by HR departments to tell the employees about policies regarding sexual harassment, unequal treatment, etc.
Scenarios to Use Corporate Training Videos
- When you need to train a new team or task force.
- When you want to tell your staff about Human Resources available.
- When you want to train employees about office habits and policies and safety.
- When you want new recruits to learn about company policy or legal aid.
5. On-Site Training Videos
While this is pretty similar to the presenter-style video we discussed before, on-site videos are used in specific situations where a certain place in question needs to be shown.
This video will have a presenter, audio narration, and clips and recordings from the site.
Scenarios to Use On-Site Training Videos
This style of training videos is most popularly used for safety instructions, or showing newly constructed spaces, like a virtual tour.
- When you want to show behind-the-scenes work.
- When you want to visit factories or plants.
- When you want to show restaurant or fast-food chain employees the basic workings of the kitchen.
- When you want to give a tour of a certain facility.
6. Motion Graphics Training Video
This style is useful in situations that cannot be enacted by human beings. Computer simulations or animation is perfect for situations, for example, to show the worst-case scenario when a safety rule is not complied with.
You also might not have the budget to show, say, a real-life explosion. So motion graphics is a budget-friendly option.
Here’s how WHO teaches Covid-19 safety in the workplace:
Motion graphics videos can also bring a light-hearted mood to grim situations and explain things in a fun and engaging way.
Scenarios to Use Motion Graphics Training Videos
- When your video is focused on numbers and statistics.
- When you want to explain situations that would be too high-budget to show in live-action format.
- When you want to show safety training or hazardous situations.
It can be super time consuming and effort-intensive to create motion graphics-based videos as it may require more technical expertise than most other formats in this list. But creating it on InVideo, a free online video maker, can make the process way less intensive, with access to more than 5000 templates that can be edited to suit your specific purpose, and used for free.
7. Stock Footage Montage & Text-Based Training Videos
A stock footage montage usually comprises “stock” footage, custom graphics, and music that are bought.
Like this one that features training for sexual assault response teams, that illustration, for instance, would not be right for.
Scenarios to Use a Stock Footage Montage Training Videos
- You don’t have the time or budget for a film crew.
- The footage you need is not specific and probably accessible in stock format.
- You want to protect the anonymity of individuals referenced in the video.
If you want to simplify this process further for yourself, create a stock footage montage or text-based training video on InVideo, a free video maker.
With an in-built media library of 8M+ royalty-free video clips, images, and music from premium sources like iStock and Shutterstock, our super-intuitive and easy to use free online video editor allows you to edit your videos in minutes, even if you’ve never edited a video before.
Plus, there’s 24*7 live chat support available so you can always ask for help.
The best part — it’s completely free for you to start off with. Here’s how to create a photo montage video in under 5 minutes:
8. Interactive Training Videos
This is possibly the best way to leverage current trends. An interactive training video is a type of e-learning that has a storyline that the viewer can actually participate in.
Kind of like Black Mirror’s Bandersnatch. Pretty cool, right?
The viewer engaged in the storyline and their participation determines what happens next. This makes it a non-linear story, where the outcome is completely determined by the audience. This makes for an engaging learning experience as the participant is required to complete each step before moving on to the next one.
Here’s an interactive training video that teaches what to do in case someone goes into cardiac arrest, by putting you smack in the middle of the action.
The interactions in the videos can be anything from calculations to yes/no questions. This type of interaction challenges the idea of passive learning as the participant’s interaction directly changes the outcome of the story. If you’re as fascinated by this as we are, you’re going to want to check this out for more on interactive video e-learning.
Here is how Maybelline transformed the simple makeup tricks video into an interactive training video.
Scenarios to Use Interactive Training Videos
- When you want to track your learners’ usage of the video.
- When the content of your video does not benefit from passive learning.
- When you want to personalise learning paths for different staff members.
- When you want to combine other immersive learning tools, like augmented reality or VR.
- When your content requires many different kinds of learning assessments.
That’s a wrap on types of training videos. Let’s move on to how to make training videos next.
(4) How to Make Training Videos
Here’s a step-by-step breakdown of each process:
(A) How to Make A Training Video with Screen Recording
Screen recording is a powerful and budget-friendly tool to make an instructional video. We’ve already looked at what screen recording is, and what scenarios it’s perfect for. So now, you’re all set to learn how to make your own.
Step 1: Make it a Process-Driven Video
You have identified your topic. But what exactly do you want to explore within it? There are two ways to approach a screen-recording video.
You can do a step-by-step breakdown on how to use an app or perform a specific function within a software you’re explaining. Or you can share some of your favorite features from an app.
The most important thing is to make sure you’re following a logical progression of the video. This means, don’t perform both of the scenarios we’ve discussed simultaneously. One point should move into the next one. A screen recording should be a smooth ride.
Step 2: Identify the Equipment You Need
You’ll need a screen recorder which will take your audience through a step-by-step tutorial plus your thought process.

Here’s all the gear you’ll need with our recommended best buy for each piece of equipment:
Camera
Use a webcam ($94.95) or your smartphone ($250) to record yourself.
Light
A simple ring light will do the trick.
Audio
Opt for a podcast mic or a lavalier mic.
Softwares
- You can choose between OBS, DU screen recorder, and Camtasia for screen recording.
- You can use Premiere Pro for editing your tutorial.
We realise this is just a brief glimpse of the kind of equipment you will need of how to make a training video with screen recording.
If you want to dig deeper into all the equipment options available for you to choose from, you can check out this super-detailed guide on all things video equipment.
Step 3: Get to Scripting
Remember how we discussed the importance of scripting and storyboarding earlier? This is where you get started on constructing your script.
Watch this video to know more:
This is what a storyboard for a screen-recording video can look like:

Step 4: Use a Screen-Recording Software
There are many apps and softwares you can use to record your screen. This will be different for Mac and Windows, iPhone or Android.
Here’s a handy guide for which apps can be helpful. We’re going to cover points going forward that, regardless of the software you use, should be followed when making your video.
Step 5: Chalk Out A Plan For Your Screen-Recording
Now that your script/storyboard is complete, and your screen-recording software has been picked, it’s time to fine-tune the last few details.
There are three golden questions you need to ask yourself at this point.

Depending on the software you use, you will answer all three questions on one screen.
Here is the part where you attach a webcam if you want, choose a suitable screen for your desktop and add an external mic, or move into a room where you can record on your laptop or phone.
Salma Jafri shows us how to use screenflow for Mac:

Step 6: Format Your Video
This is where you decide on your screen dimensions and screen resolutions.
So first, update your screen resolution; decide whether you want 1080p HD or 720 HD. We also suggest that you run an audio and video test.

Make a short video trying out different dimensions — see if you want your face side by side, or in a small window in the corner. This is essential if you want to end up with a great result.
Step 7: Decide When To Show Your Face
Now, you are ready to record your video.
You can keep resizing your face, remove your face entirely from certain shots, or only concentrate on your face for others. This can be easily performed in the software you’re using, usually with a drag-and-drop option.
This is a useful way to engage with your audience; but make sure you’re not moving things around so often that it distracts from the actual instructions of the video!
We suggest that once you do the test run and see what a video looks like, you add indicators on your script for when you want to resize your face, and when you want to remove it.
Step 8: Prep Your Screen
If you’re switching from multiple tabs or places on your desktop, make sure every screen is prepped. This ensures you don’t waste time with internet searches or speed. Not only does this make shooting faster and easier, but it always saves a bunch of time in editing.
Step 9: Ideate on How to Make A Video More Engaging
This can be done simply through transitions, zooming in and out of the right places, adding text, etc.
Videos that want to focus on a specific function, but that show the full screen throughout, can really lose the attention of the viewer. Zooming in on certain words or actions on the screens allows the viewer to focus on what you’re teaching.

Step 10: Fix the Audio and Video
Depending on what software you use, you can reduce or completely remove background noise, you can add your own tracks from outside of the mic recording, and you can adjust the levels.
The test run will tell you what your audio sounds like, and what kind of adjustments it might need. You can also colour control your image, especially if you use your face for this video. This would mean adjusting the warmth, saturation, etc.
Step 11: Export Your File
A lot of softwares allow you to directly upload your edited video onto any social media platform. But you have to first render the file, to avoid any video processing faults.
Export it to your computer first!

This might seem like a pesky departure, but it is not. It is absolutely essential.
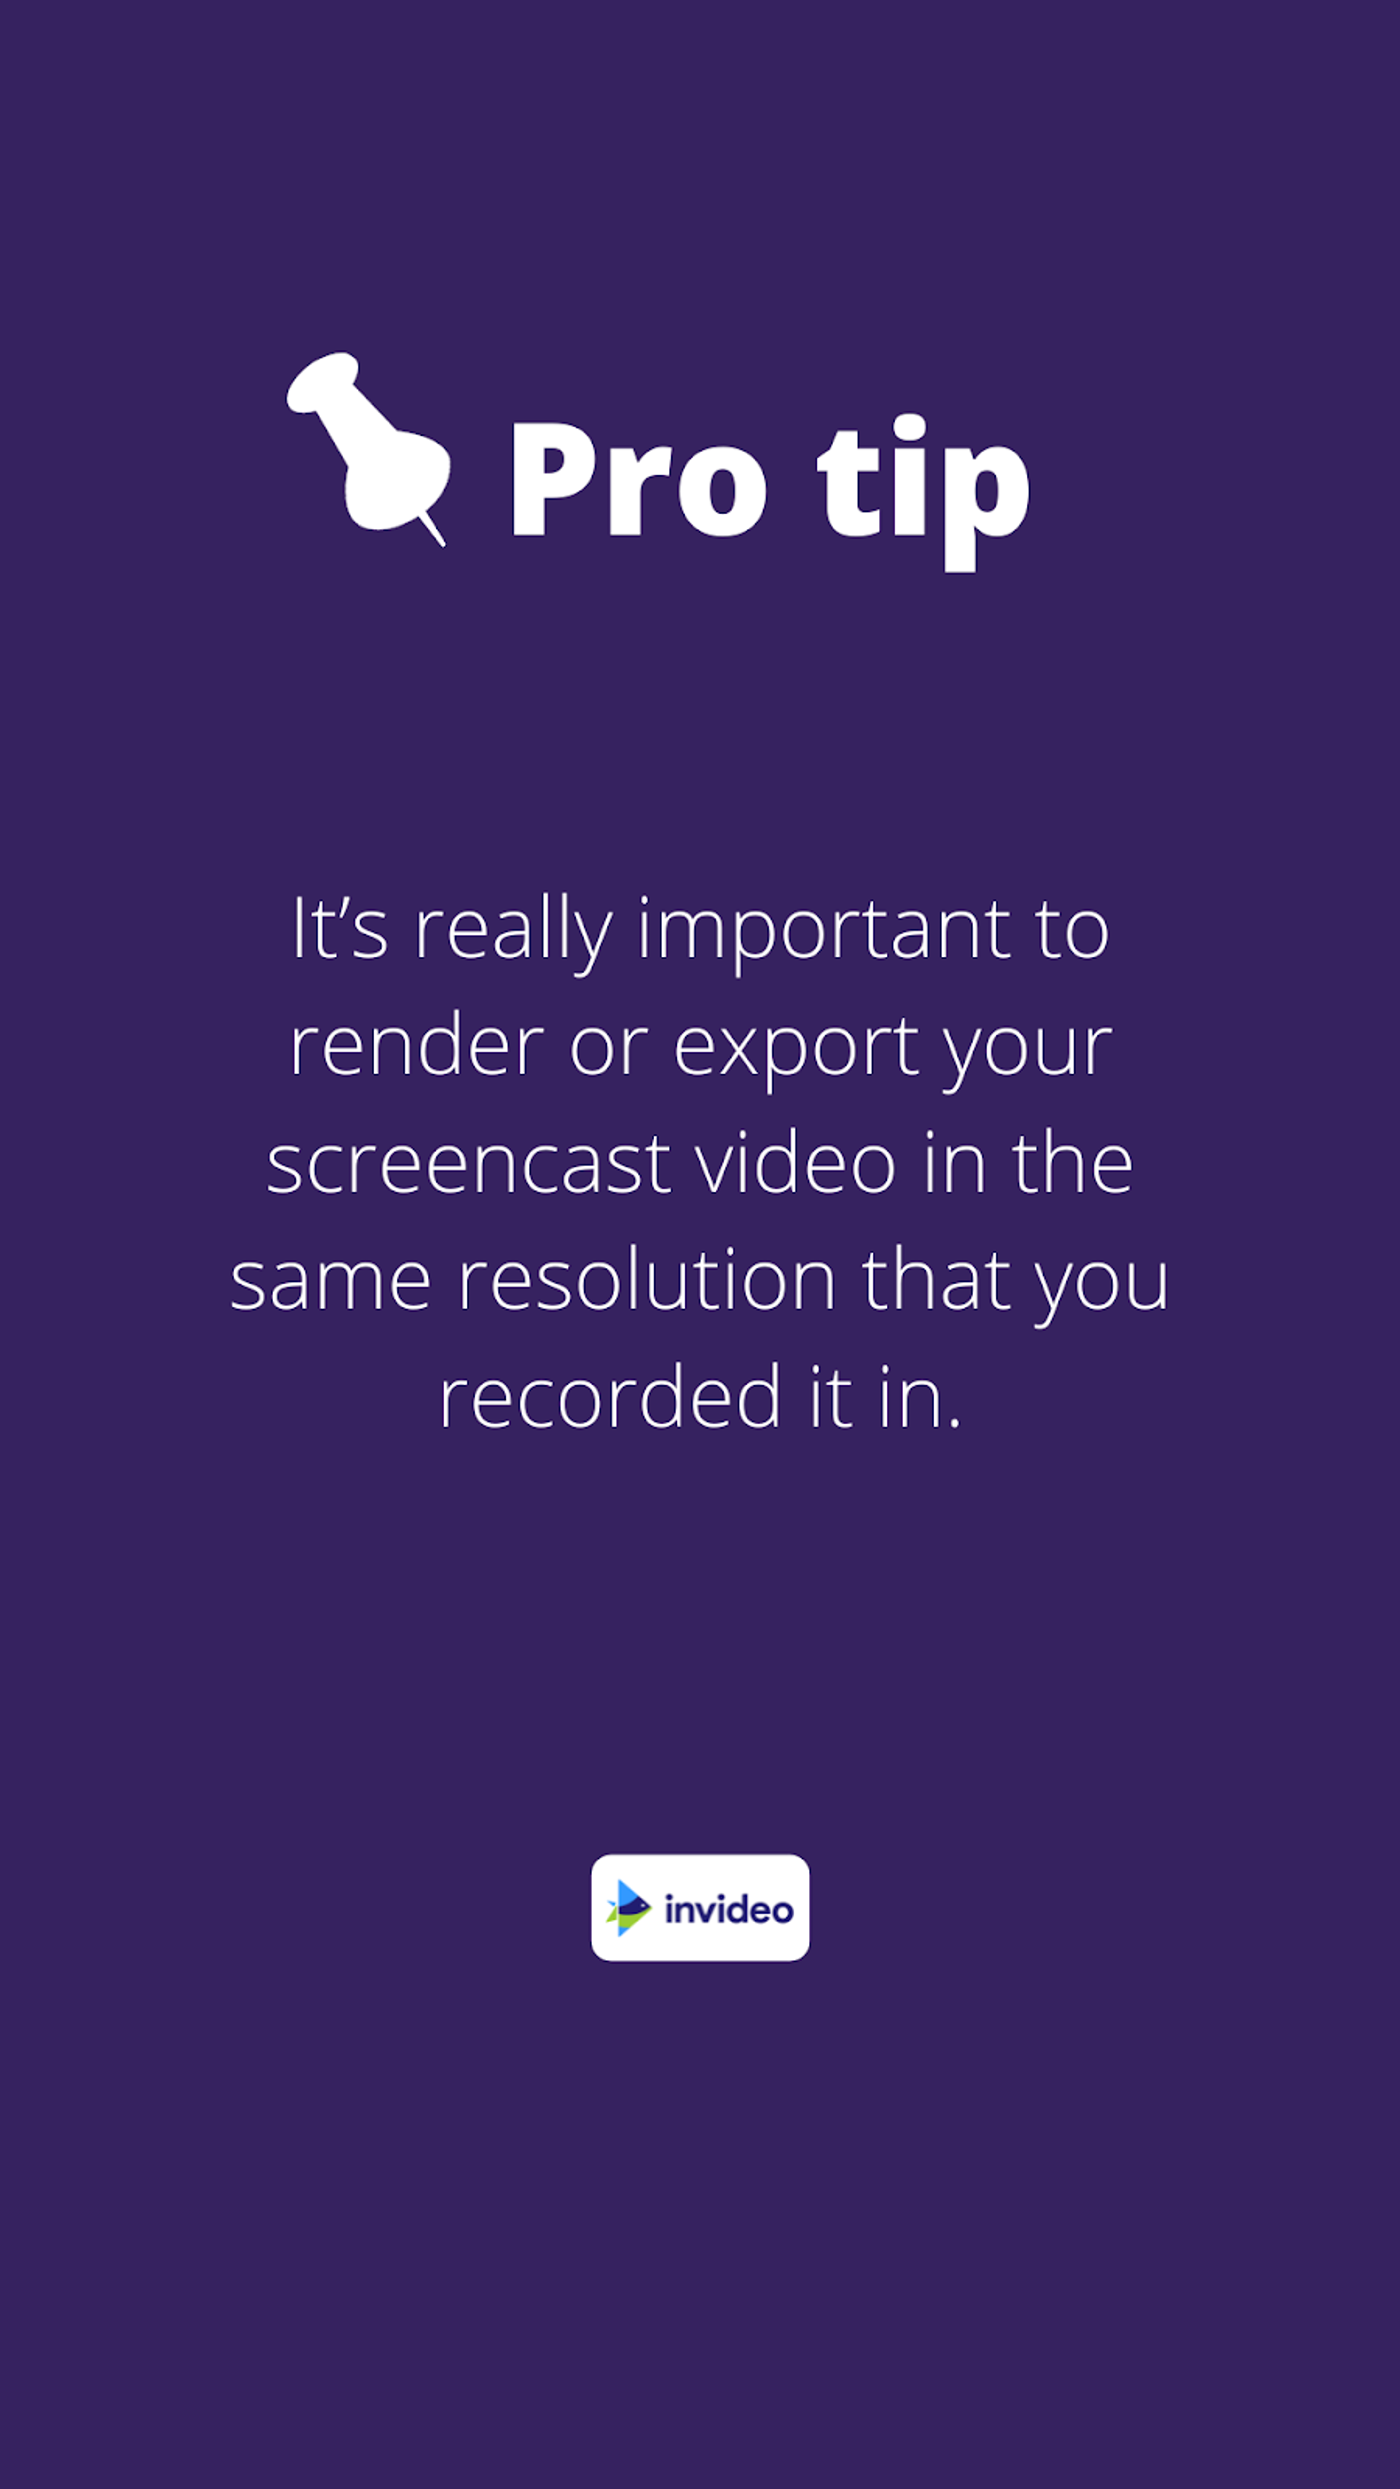
When you work on exporting your video, make sure you select the same settings for resolution, as you did for your video. Your document settings and export settings need to match, otherwise when you do finally upload your video onto social media, the picture will come out unattractive, stretched out, or would just look strange, in one way or another.

(B) How to Make a Training Video with a Camera
Step 1: Choose Your Topic
You already know the drill: make sure you have a coherent topic in your mind. This is where you clarify your learning outcomes, and fine-tune it according to the audience you have in mind.
Step 2: Scripting & Storyboarding
A script ensures that you deliver your message correctly, and so that it’s easier to edit later on.
Here’s a popular video framework you can use: the H.I.C.C. formula.

The abbreviation stands for:
- Hook
How do you catch and keep a viewer’s attention?
Here are some tips and formats you can use to frame it right:
-A summary of what they will learn
-A catchy headline
-A striking visual
-A teaser
- Introduction
Introduce the topic; keep it brief and insightful.
- Content
This is the actual topic of your video, where you will expand upon the body of your content.
- Call to action
Suggest to your viewers that they engage with you with likes, comments, subscriptions or watch another video / follow you on social media
For example, let’s take Ethan Chlebowski’s well-segmented video on ‘How to Make Proper Hoagie Rolls at Home’. He crisply uses the HICC formula to explain his process.
In the hook, Ethan engages the viewers immediately by showing the completed recipe and points out how there’s very less online content related to it.
In the introduction part, he introduces himself, explains what he’s making, and highlights that he is going to share better ways to cook with the viewers.
Content — in this part, he explains all the ingredients, mentions the special ingredients and their brands, techniques, and expands on the recipe itself.
At the very end of the video, there are call-to-actions asking viewers to subscribe, check out his website, and the Instagram handle.
We can see exactly how effective the HICC formula is, in this example we have outlined.
Here’s a simple storyboard template we’ve put together to help you hit the road running.
Step 3: Equipment
Capturing your footage is a matter of precision and planning. But hey, having some gear helps too.
It doesn’t have to be expensive gear, nor do you need professionals to operate it. You can optimise your time by using the right gear for your video. If it’s a presenter-style video, for example, getting a makeshift teleprompter is very handy.
Check out this video if you want help picking out your gear, before you start recording your training video.
Step 4: Start Editing Your Footage
If you’re looking to create videos of up to 15 mins, the easiest option at your disposal is InVideo — a one-stop shop for video creators. It comes with:
– 5000+ pre-built templates that you can readily use or you can start with a blank canvas.
– An in-built media library of 8M+ royalty-free video clips, images, and music from premium sources like iStock and Shutterstock.
– A super intuitive and easy to use online video editor that’ll allow you to edit your videos in mins even if you’ve never edited a video before
– 24*7 live chat support so you can always ask for help
The best part — it’s completely free for you to start with and you can create as many videos as you’d like with your own brand logo/watermark and export them in 720p. And If you’d like to get your videos out in 1080p, as well as get access to the premium media library, it’ll just set you back by $20/month or $120/year.
If you want to know more about how to use InVideo and get started today, check out this tutorial:
So at this point, you’ve got your video ready and are all set to put it up. Where do you upload it?
(5) Where to Host Training Videos
A key factor in distributing your training videos is to find the perfect place to host them.
Since videos are such large files — bigger than possibly any other file you’ll have on your site — they tend to take up way too much space, slow down your site, and end up causing errors.
A video hosting platform essentially allows you to upload your training video onto their servers, and then embed it into the relevant pages on your own website. So your page load times don’t get affected.
Here are the top few options on where to host your training videos:
1. YouTube
YouTube — after Google — is the second largest search engine in the world. Uploading, optimising and embedding YouTube videos are all super easy. The platform comes with a number of helpful features, such as automatic transcription, making your videos more accessible.
You can even create entire playlists of training videos, categorised by theme.
Plus — it’s free!
2. Vimeo Pro
This one provides everything most creators need with this option, if they’re ready to put money behind your training videos. Vimeo Pro is easily customisable, can be discretely embedded into your site with its subtle interface, and the player controls are super sleek.
Besides, the additional features include being able to tweak the controls to limit who can view the video, and to make it harder for viewers to download it. You also have the option of live streaming, besides in-depth analytics feedback. There’s a free option that you’ll probably use up pretty quickly, but fortunately, the Pro options start off at just $7/mo.
3. Wistia
If YouTube and Vimeo Pro had a baby… you’d have Wistia. It has interactive features on its videos that allow creators to add CTAs right in the video, and it integrates with Eventbrite, which is super useful if your organization hosts a lot of live events.
Marketing integrations are another big plus with Wistia, but it’s worth noting that it is much more expensive than our other options. Your first three videos are free (just enough for you to have a taste and experience how it works), after which it’s going to cost you $99/mo.
4. Brightcove
Right off the bat — this one has a 30-day free trial, after which pricing starts at $199 a month.
But what you’re getting at that price point might well be worth it, if you have the team and budget for it; besides advanced security features, they also offer 24/7 live support. Brightcove also offers some very developer-friendly APIs so that you can really create a customised experience.
There are also some considerations to keep in mind while choosing a platform that needs to be tailored to your requirements.

Luckily, we’ve done the legwork for you. In case you want to put your videos on personalised or custom-made websites perfect for your content, here are some tips on how to choose a hosting platform:
Tip #1: Choose a Simple Platform
The right platform should be easy enough to navigate.
You should have simple ways of managing your content, especially if you’ve created several hundreds of training videos. Choose something that is easy to set up, and easy to decipher, otherwise content management will become a full-time job!
Tip #2: Choose a Website with Customer Support
This is important if you’re live-streaming your training videos. Technical difficulties should be managed by a customer support team, especially if you’re having any issues that require immediate assistance.
Tip #3: Look for Platforms that Have Servers Across the World
Ensure that the platform has licenses to deliver your content across the world with high speed and quality.
For an idea of where you can host your training videos, check out this excellent resource from Dacast.
At the end of the day — remember that you don’t have to choose just one platform. There are definite upsides to working on one video hosting platform for your premium site content, and another for shareable social media content.
For instance, you can use Vimeo Pro on your website for longer course-related videos, but use YouTube instead for shorter videos that can be shared easily on social media.
Our advice? Choose the one that best fits your budget and needs.
(6) FAQs
1) What is a training video?
A training video is a video that basically shows the viewer how to do something. This can be an instructional video, such as one on how to install a Kindle app on your phone, or an employee training video during an orientation.
Training videos essentially share instructional knowledge on a topic.
2) How long should a training video be?
The majority of viewers want informational and instructional videos to be less than 20 minutes, with a preference toward the 3-6 minute ranges.
To decide the length of your training video, you have many factors to take into account. A Facebook video would be shorter than a YouTube video, for example. Ultimately, the content decides the length, and good content will engage viewers for longer. Also check out this tip above for more details.
3) How do you create an interactive training video?
Interactive training videos allow for an active learning experience and for your audience to choose their own learning paths. It makes you meet specific learning objectives instead of sitting through long videos, where your participation is limited and the content is less engaging.
We’ve found a great guide for you in case you’re interested in making your own interactive training video.
The bottom line
You now have everything you need to make a training video that drives home the point!
If you are invested in leveraging videos for your brand, you’d definitely want to check out our exhaustive list of YouTube video ideas.
Also, if this blog was helpful, we’d love for you to share it with your friends and colleagues who can benefit from it. And as always, we’d love to answer any questions you may have in the comments below.