Online Audio Editing
Cut recordings, clean up speech, mix tracks, and master audio with invideo Editor. Tell the invideo agent what you want changed, and it works directly on your timeline. Keep the result or fine-tune it with editable tracks, effects, and mixing controls in your browser.
















A complete audio editing suite, built for the way you work
A real timeline with a built-in audio workstation
Mix and master audio without leaving the timeline. Keep voice, music and sound effects on separate tracks, with buses, dB faders, loudness metering and precise controls to shape your sound.

Agentic Audio editing
Direct your editing agent to mix and master your audio, clean up dialogue, source or generate the music and add the sound effects you need. It carries out the work on your timeline, with editable tracks and controls for any refinements you want to make.
Shared workspace
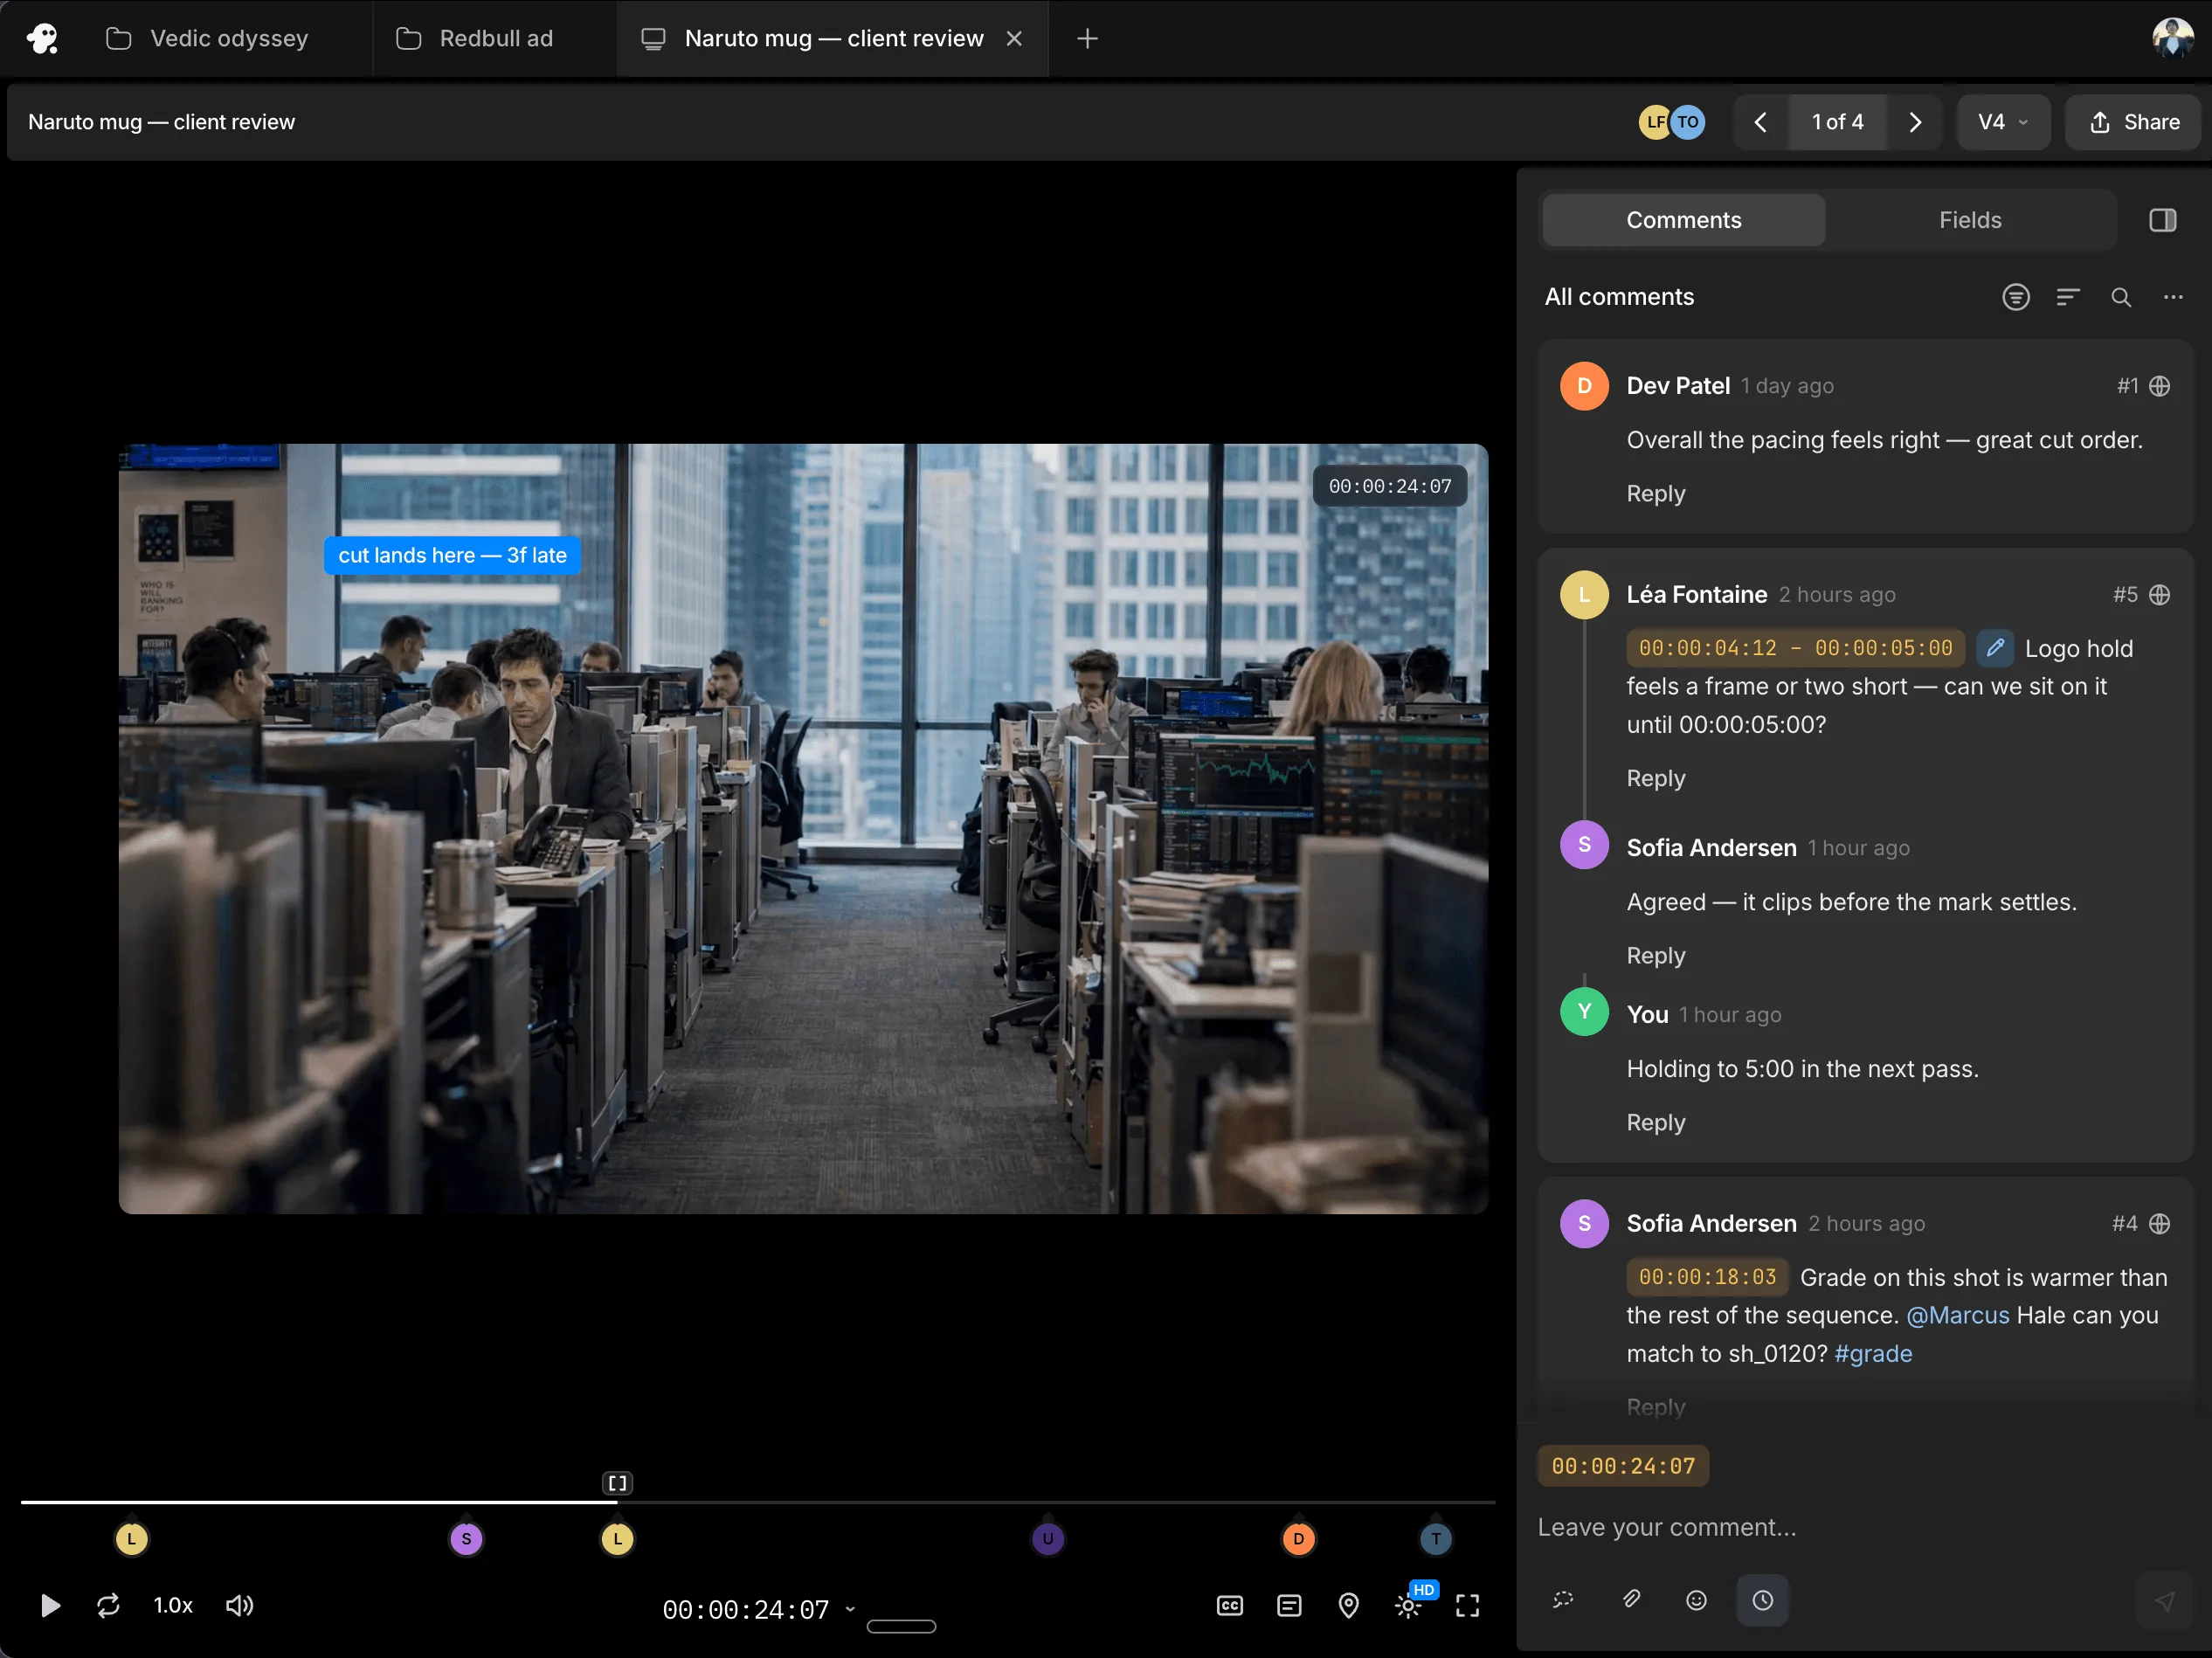
Work with teammates on the same timeline and share session replays for handoffs with context. Gather timestamped comments through review links, so you know what needs to change and where.
Build your edit on a multitrack audio timeline
Cut, trim and arrange audio
Keep dialogue, music and sound effects on separate tracks. Split recordings, trim their edges, duplicate sections and move clips into place. For a longer edit, tell the built-in editing agent which sections to keep, remove or rearrange, and it assembles them on your timeline.

Inspect recordings with detailed waveform views
Choose RMS, peak and outline views to examine your audio as you edit. Adjust channel displays and switch between linear and logarithmic scales to see different aspects of the recording, including quieter passages.

Close gaps with ripple edits
Remove a section and close the gap with a ripple delete, or insert audio while shifting the material that follows. Adjust the sequence as you shorten or rearrange a recording.

Blend clips with fades and crossfades
Set fade-in and fade-out durations, choose the fade curves and use crossfades to blend overlapping clips. Shape how a sound enters, leaves or transitions into the next.

Change speed while preserving pitch
Change a clip’s speed to adjust its duration, with the option to preserve its pitch. Use reverse playback for a different treatment, or ripple the timeline when a speed change affects the length of your edit.

Organise tracks with names, colours and roles
Name and colour your tracks to keep a busy timeline easy to navigate. Assign audio roles to identify the recordings in your edit and distinguish dialogue, music and sound effects.

Clean up recordings and shape your sound
Shape the tone with eight-band EQ
Adjust different frequency ranges to shape the tone of a recording. Reduce excess low end, soften harsh frequencies or bring more presence to a voice with an eight-band parametric equalizer.

Soften harsh speech with a de-esser
Reduce sharp “s” and “sh” sounds in speech. Apply de-essing to soften sibilance without lowering the level of the whole recording.

Remove unwanted clicks
Reduce unwanted clicks in a recording with a dedicated effect. Apply it to the audio that needs attention as part of your cleanup.

Even out levels with compression
Control the difference between louder and quieter passages. Use compression to keep a voice more consistent or manage the dynamics of music and other audio.

Make an adjustment once, apply it across the timeline
Get the treatment right on one clip, then ask your invideo agent to apply it to the other clips you specify. Carry an EQ adjustment across selected voice recordings, repeat a fade treatment or place the same impact at each title reveal. Choose what to repeat and where, and the agent carries out the edits.

Mix voices, music and effects with precision
Adjust clip gain and track levels
Adjust an individual clip’s volume or change the level of a whole track with a dB fader. Balance recordings at the level you need, from one quiet phrase to an entire music bed.

Position sounds with stereo panning
Position clips and tracks between the left and right channels. Place a sound to one side or keep it centred as you build the stereo mix.

Isolate tracks with mute and solo
Mute a track to hear the mix without it, or solo it to listen in isolation. Check a voice, music bed or effect before balancing it with the rest.

Automate volume and pan with keyframes
Change a clip’s level or stereo position over time. Add keyframes to bring a sound forward, fade it into the background or move it between the left and right channels.

Route audio through buses and sends
Route tracks through buses to work with parts of your mix together. Use sends to pass audio to an additional destination as you organise your processing.

Agentic audio ducking
Ask invideo editor’s editing agent to lower music beneath speech and bring it back during the pauses. Set up ducking through your direction, or work with the Ducker effect yourself. Adjust its controls to refine how much the music drops and how it returns around the conversation.

Edit, layer and transform your audio
Change the character with pitch adjustments
Raise or lower a sound’s pitch to change its character. Shape a sound effect or give an existing recording a different tonal treatment.

Add space and sustain with reverb
Add a reverberant tail to a voice, instrument or effect. Use Plate Reverb to shape the treatment, or Verb One for a simpler one-knob adjustment.

Apply effects to clips or entire tracks
Treat one recording with clip effects, or apply processing across the audio on an entire track. Shape an individual impact separately from the ambience, or give a group of recordings a shared treatment.

Compare your processing with effects bypass
Bypass effects to hear the audio without the applied processing, then switch them back on to compare. Check whether your adjustments suit the recording and its place in the mix.

Place sound effects with a prompt
Describe an impact for a title reveal, ambience beneath a scene or a whoosh at a transition. The editing agent inside invideo editor sources or generates the sound and places it on an editable track at the moment you specify. Adjust its timing, volume and effects, or give the agent further direction.

Fine-tune and master your final mix
Check track and output levels
Watch the level of individual tracks and the combined output as you listen. Use the meters alongside the mixer to guide level adjustments.

Monitor the loudness of your mix
Use the loudness meter alongside track and output meters to assess your mix. Check the balance as you refine dialogue, music and effects.

Control peaks with a limiter
Control peaks at the top of the signal’s level range. Apply a limiter to manage louder moments as you finish the sound.

Export audio with a loudness target
Export your finished audio in WAV, AAC or Opus, or include the mix with your video. Set a loudness target in the export controls to prepare the output for delivery.

How to edit audio inside the invideo editor
Upload your audio or video
Upload your voice recordings and video footage along with the music and sound effects you have in mind, or let the agent find and generate audio based on your needs.
Tell the agent what you want
Give your direction in plain language. For example: “Clean up the voices, balance the speakers, lower the intro music under the conversation and master the episode for export.”
Listen, fine-tune and export
Play back the result and export your audio or finished video. If you want changes, give the agent more direction or adjust the tracks, effects and mix yourself.
FAQs
Can I edit audio without uploading a video?
Yes. You can edit and mix standalone audio, including podcasts, voice recordings, recorded music and sound effects. You can also work on a video’s soundtrack in the same editor.
Can I mix multiple audio tracks?
Yes. Keep voices, music and sound effects on separate tracks, with individual volume, panning and effect controls. You can balance them yourself or tell the agent how you want the mix to sound.
Can I master audio as well as mix it?
Yes. Mixing balances the individual tracks. Mastering shapes the combined output through final tone, dynamics and loudness adjustments. You can do both inside invideo editor.
Can I remove background noise from a recording?
Yes. Ask the editor to reduce unwanted noise and improve speech clarity. You can control how much processing is applied. The result depends on the original recording and how much the noise overlaps with the voice.
Can I edit and export MP3 and WAV files?
Yes. You can import MP3 and WAV files, cut or combine them, adjust their sound and export your finished audio in either format.
Can I make manual adjustments?
Yes. You can keep the result as it is or ask the agent for further changes. The timeline, mixer and effect controls are there whenever you want to make an adjustment yourself.