


Key Takeaways
-
Kling motion control lets you turn one reference performance into repeatable character animation you can reuse across many variants.
-
The real unlock is not “more prompts”; it is standardized inputs: a clean identity seed, a clean motion reference, and tight binding rules for facial consistency.
-
Inside invideo, you can run a motion-control workflow with Kling video 3.0 motion control, then version outputs for ads and socials from one workspace.
-
If your identity image is weak, upgrade it first so element binding has sharper facial data to protect.
-
Once you have one strong “master take,” you can create channel-specific versions fast: different hooks, crops, camera moves, and backgrounds.
If you have ever tried AI character video generation and watched the face drift, the head turn break, or the body “re-decide” its proportions mid-clip, you already know the real pain: the motion looks cool, but the identity won’t stay locked. This is where Kling 3.0 comes in.
With Kling motion control inside invideo, you can create controlled character animation by feeding it a clean identity image and a reference video, then generating a clip that follows the reference movement while holding the same character face. That is the difference between “AI video that looks cool once” and motion control video generation you can actually use for a campaign.
What Exactly is Motion Control & Why Does it Matter?
In classic filmmaking, “motion control” usually means a programmable camera rig that repeats the same camera move perfectly, so you can shoot multiple passes (talent, props, VFX plates) and composite them cleanly. The core idea is repeatability: the move is consistent, measurable, and reusable.
In AI video, however, motion control applies the same principle, but instead of a physical rig, you use a motion reference (often a video clip) and rules that constrain what the model is allowed to change. The system tries to follow the reference timing and body mechanics while keeping key elements stable, like the character’s face, body proportions, or camera path. That’s why you’ll also see it described as reference-driven generation or motion transfer.
AI video generation is moving fast, but creators and marketers still lose time on the same problem: you can generate a good clip, but you cannot reliably generate the same character doing the same performance across multiple scenes.
Motion control is the practical unlock. Instead of asking the model to invent performance from a text prompt alone, you give it a motion blueprint (a reference clip) and reduce the degrees of freedom that cause drift. Done well, motion control video generation helps you keep character orientation aligned, preserve facial features through movement, and direct camera behavior so your output feels intentional and not random.
Kling Motion Control: 3.0 vs 2.6 Comparison
While Kling 2.6 laid the groundwork for high-quality AI video, Kling 3.0 introduces structural changes to how motion is calculated, specifically improving how the AI understands human anatomy, camera physics, and multi-shot continuity.
| Feature | Kling 2.6 (The Foundation) | Kling 3.0 (The Cinematic Leap) |
|---|---|---|
| Motion Realism | Movement can occasionally feel "floaty" or lack physical weight (e.g., walking looks like sliding). | Significant upgrades to physics and weight. Walking, running, and dancing feel grounded and natural. |
| Human Anatomy | Strong, but prone to "melting" or artifacts during complex hand gestures or fast turns. | High-fidelity hand and face tracking. Stabilizes fingers and facial expressions even during intense motion. |
| Camera Logic | Supports basic pans and tilts, but camera moves are often disconnected from the subject. | Integrated Camera Control. The camera mimics professional rigs (dolly, orbit, tracking) that stay synced to the action. |
| Video Duration | Typically optimized for shorter, 5–10 second clips with stable motion. | Support for 15-second continuous sequences with improved temporal stability from start to finish. |
| Scene Structure | Primarily "Single-Shot" focus. Hard to transition between different angles in one go. | Native Multi-Shot Support. Can generate 2–6 distinct shots (hook, middle, payoff) in a single generation. |
| Audio Integration | Added basic vocal engines; audio and video are often processed as separate layers. | Omni Native Audio. Speech, Foley, and ambient sounds are generated alongside the video for perfect lip-sync. |
| Consistency | Characters stay recognizable, but clothing or backgrounds might "drift" in longer clips. | Subject Binding. Allows you to lock in specific elements (mats, products, characters) across different shots. |
| Resolution | Capped at 1080p for most standard generations. | Introduces Native 4K output (in specific modes) with sharper textures and finer macro details. |
Creating Controlled Character Animations With Kling Motion Control Inside invideo
The goal is simple: take one motion reference, map it onto your character, and generate a clip where facial identity stays stable, head turns stay accurate, and the camera move looks deliberate.
Step 1: Get started on invideo
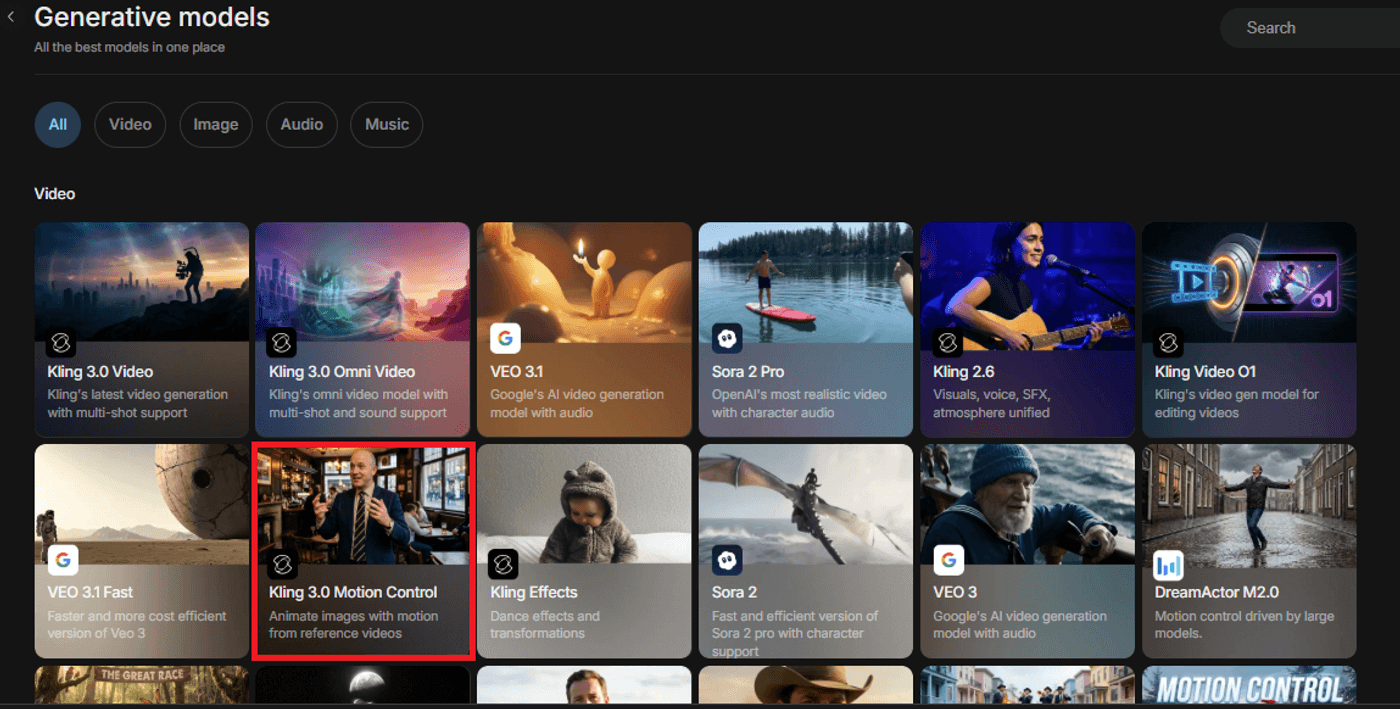
Open or log in to your invideo dashboard and go to Agents & Models. Select Kling 3.0 Motion Control from the available options and create your project.
This becomes your command center: you import identity assets, attach motion references, generate clips, and keep variants organized in one project, so you are not bouncing between a separate generator, an editor, and an export tool.
Step 2: Build A Clean Identity Reference (Your Face-Safe “Seed”)
If you want facial consistency, you need to treat identity like your “hero asset.” Use one clear identity image where the face is sharp, front-facing or three-quarter, evenly lit, and not stylized by aggressive filters.
A few filmmaker-style guardrails that keep the model stable: Use a neutral expression as your base, keep the face unobstructed (avoid hands over mouth, heavy hair across eyes), and avoid extreme wide-angle distortion. If your identity seed already warps features, your motion clip will amplify it.

This is also where facial element binding/element binding matters. When you bind key facial features, you reduce the chance that the model re-invents the nose, eye spacing, or jawline as the head moves.
Step 3: Choose A Reference Video That Transfers Cleanly
Your motion reference is your choreography. The cleaner it is, the more controllable your output becomes.
Pick a reference clip with steady framing, a clearly visible subject, minimal occlusion, and lighting that does not strobe across the face. If you want strong head movement accuracy, choose a reference where the head turns are smooth and readable, not whip-fast or hidden by hair.
Also, decide what you actually need: If your output is a talking-head ad, you will get better reliability with half‑body motion control. If you need dancing, walking, or product interaction, use full‑body motion control and prioritize references where the full body stays in frame.
Step 4: Bind What Must Not Drift
This is the moment to be intentional about what you want. If the character’s face must match exactly, bind facial elements. If the outfit silhouette must stay consistent, keep the wardrobe and body description stable. If the orientation must match, state that explicitly (for example, “character orientation matches video/image”). Although the way to bind expressions is shown in the next step, the reason binding has been mentioned before here is because of its importance when it comes to consistency across scale.
If you are doing image to video motion control, keep the identity image and the motion reference aligned: similar camera angle, similar lens feel, and similar lighting direction. Large mismatches create “translation stress” that shows up as face warps and jitter.
Step 5: Write A Constraint-First Prompt (Not A Vibe-Only Prompt)
Most motion control failures happen because the prompt is too open-ended. Think like a filmmaker: lock what must stay constant, then describe the creative layer.
Include these constraints directly: who the character is, what must stay consistent, what motion to match, what the camera does, and what expressions are allowed.
If you want complex facial expressions in your AI video output, do not request “extreme emotion” plus “fast motion” plus “dramatic handheld camera” all at once. That is three sources of instability. Instead, pick one priority (expression nuance, motion fidelity, or camera movement) and keep the other two calm.
For camera movements, start conservative: locked-off, slow dolly, or gentle pan. Once identity holds, you can push more cinematic motion.
Here’s an example:
PROMPT: Motion-Control Spokesperson
DURATION: 8–12 seconds
FRAME: half‑body motion control, centered subject, stable shoulders and hands.
Enable facial element binding.
MOTION: match reference timing and gesture rhythm; prioritize head movement accuracy and natural blinks.
CAMERA MOVEMENT: locked tripod or slow dolly-in only.
Expression: [EXPRESSION: subtle smile / calm confidence]. Avoid facial reshaping.
Background: [BACKGROUND]. Lighting: [LIGHTING].
Step 6: Generate A Short Test Clip & Then Scale To Your Final Shot And Create Variants
Treat your first generation like a screen test. Generate short, then evaluate the exact failure modes that matter.
Once your test clip holds, scale to the final duration and start variant production.
This is where motion control becomes a marketing multiplier. You can reuse the same performance and create variants like: different backgrounds, wardrobe colorways, product-in-hand swaps, localized text overlays, or platform-specific framing, while the underlying motion stays consistent.
Troubleshooting Common Motion Control Breaks
Here are the fixes that usually move the needle fast:
- If facial identity drifts, strengthen element binding, reduce camera motion, and simplify expression instructions.
- If head turns look wrong, choose a smoother reference, reduce the turn angle, and explicitly request head turn accuracy and “no face reshaping.”
- If character orientation flips, state “character faces the same direction as the reference” and keep the identity seed angle closer to the reference angle.
- If the camera feels chaotic, reduce to one move (slow dolly-in or locked tripod) and remove handheld language.
- If the expression breaks, request a smaller range (“subtle smile,” “calm confidence”) instead of extremes.
Best Practices When Working With Kling Motion Control
- Start with half-body framing when you are new to Kling AI motion control, because fewer moving parts improves stability.
- Use one clean identity seed per character and reuse it across episodes to protect facial consistency.
- Keep camera movement conservative until the face holds across turns and blinks.
- Generate short tests first, then scale duration only after head movement accuracy looks stable.
- Treat element binding as a non-negotiable when you need consistent facial identity across multiple clips.
- Keep reference videos clean and readable, because motion transfer amplifies blur, occlusion, and chaotic lighting.
Get Ready to Create With Kling Motion Control
Motion control is the difference between generating a cool one-off clip and building a character video system you can rely on. With Kling 3.0 Motion Control, you stop asking the model to invent performance from scratch every time.
Instead, you lock a clean identity reference, drive movement from a reference video, and use element binding to protect facial consistency through head turns, blinks, and camera changes.
If you want to ship faster without sacrificing continuity, build your first motion-control recipe in invideo using Kling 3.0 Motion Control, then reuse it across every campaign you run next.
FAQs
-
1.
What is Kling motion control?
Kling motion control is a workflow that transfers motion from a reference video to an AI-generated subject, helping preserve timing, pose continuity, and performance compared with prompt-only generation.
-
2.
How do I use Kling AI Motion Control as a beginner?
A beginner can use Kling AI motion control by starting with one sharp identity image, one simple reference video, enabling element binding for facial features, generating a short test clip, and then scaling the duration after the face stays stable.
-
3.
What’s the difference between Kling 3.0 motion control and Kling video 2.6 motion control?
Kling video 3.0 motion control typically supports more stable motion transfer and cleaner results with fewer constraints, while Kling video 2.6 motion control often benefits from shorter clips and tighter camera and expression limits.
-
4.
How do I keep consistent facial identity in motion control video generation, when using Kling Motion Control?
Consistent facial identity improves when the identity reference image is sharp and evenly lit, facial element binding is enabled, camera movement stays controlled, and expression instructions avoid extreme deformation.
-
5.
On Kling, does motion control work for full-body motion control and half-body motion control?
Motion control can work for both full-body and half-body outputs, but half-body motion control is usually easier for stable results because hands, legs, and fast limb movement create more failure points in AI video.