How do you edit AI-generated video clips into a short film in Adobe Premiere Pro?
Last updated July 27, 2026
Editing AI clips into a short film in Premiere Pro is a select-stitch-match workflow: bin clips by scene, keep only the strongest seconds of each generation (documented productions used ~5 seconds per 15-second clip), stitch the best segments of multiple takes into single shots, hide cuts with motion, match color in Lumetri, then rebuild the audio.
Start by downloading every approved clip, dialogue take, and music file and organizing them into scene bins in Premiere Pro. The invideo agent — an agentic video creation tool with all the current generation models built in — functions as your production asset generator, delivering clips, voices, and score as downloadable assets; Premiere is where the film actually gets made from them.
1. Select ruthlessly — plan for a ~25% keep rate. In one documented 3-minute animated episode, 41 of 164 generated clips made the final cut, and on average only 5 seconds of each 15-second clip was used. Each generation typically contains 4–7 usable shot candidates, so scrub every clip for its best moment rather than treating each generation as one shot. Budget for this: across documented productions, teams averaged 3 generations per usable shot.
2. Frankenstein your shots. When no single generation delivers a complete shot, stitch the strongest seconds from two or more takes of the same prompt into one composite shot on the timeline. This is standard practice, not a workaround — in that same episode, 17 final shots were assembled from 2+ generations, over 40% of the finished cut.
3. Align extended clips at the overlap. If you used the extend feature (Seedance 2.0 generates overlapping frames on either side of a clip join rather than a hard start/end frame), overlap the two clips in the timeline and set your pick-up point at the third frame — the first two frames of an extended clip often contain error frames before the motion settles.
4. Hide your cuts with motion and misdirection. Camera motion and subject motion are the two main tools for concealing joins between AI clips — a moving camera stops the viewer scanning the frame for artifacts, while a still frame between two motion segments is the worst case for a seam. Place each cut where a strong foreground action pulls attention away from the most visible artifact (sky, grass, background). One documented production used these techniques to build a 1.5-minute continuous-looking shot where the cuts are invisible. To hold on an image before action starts, export the clip's first frame as a still, place it ahead of the moving clip, and add a gentle scale move to bridge the transition.
5. Color match every join in Lumetri. Even a 1% color variance between stitched clips is visible at rest, so don't skip this. The fix is usually minimal: a slight RGB Curves lift on the mismatched channel (e.g., brightening the sky) and a small Hue Saturation Curves shift (e.g., nudging the high-end greens toward aqua) is enough to complete the seamless illusion — Seedance 2.0's extend honors the reference clip's color roughly 99%, so you're correcting the last 1%.
6. Rebuild the audio track. For episodic or multi-scene work, replace the video model's generated voices with a dedicated voice pass using persistent per-character voice profiles, then resync the new lines in Premiere and delete the originals — this keeps voices consistent across scenes and episodes. Generate each character's lines as separate single-line clips rather than one combined take; it gives you far more cut control. Native model audio can carry most of the soundscape — one documented short needed only a single manually added sound effect — but layer in mixed music and supplementary SFX across your audio tracks (one episodic production mixed across 8 video and 8 audio tracks).
7. Review the cut before you lock it. Upload your rough cut back to the invideo agent with an open-ended "what's working, what's not" prompt: it reads the video, flags pacing errors, sound problems, and continuity issues like color-grade inconsistencies and prop changes between shots — checks that would otherwise take a manual frame-by-frame pass. Let the edit dictate runtime: one production scripted 60 seconds but shipped shorter because the pacing played better. A light finishing pass — subtle blur, grain, and grade — pushes AI footage closer to a filmic look if realism is the goal.
Watch some of these to see what works for you:
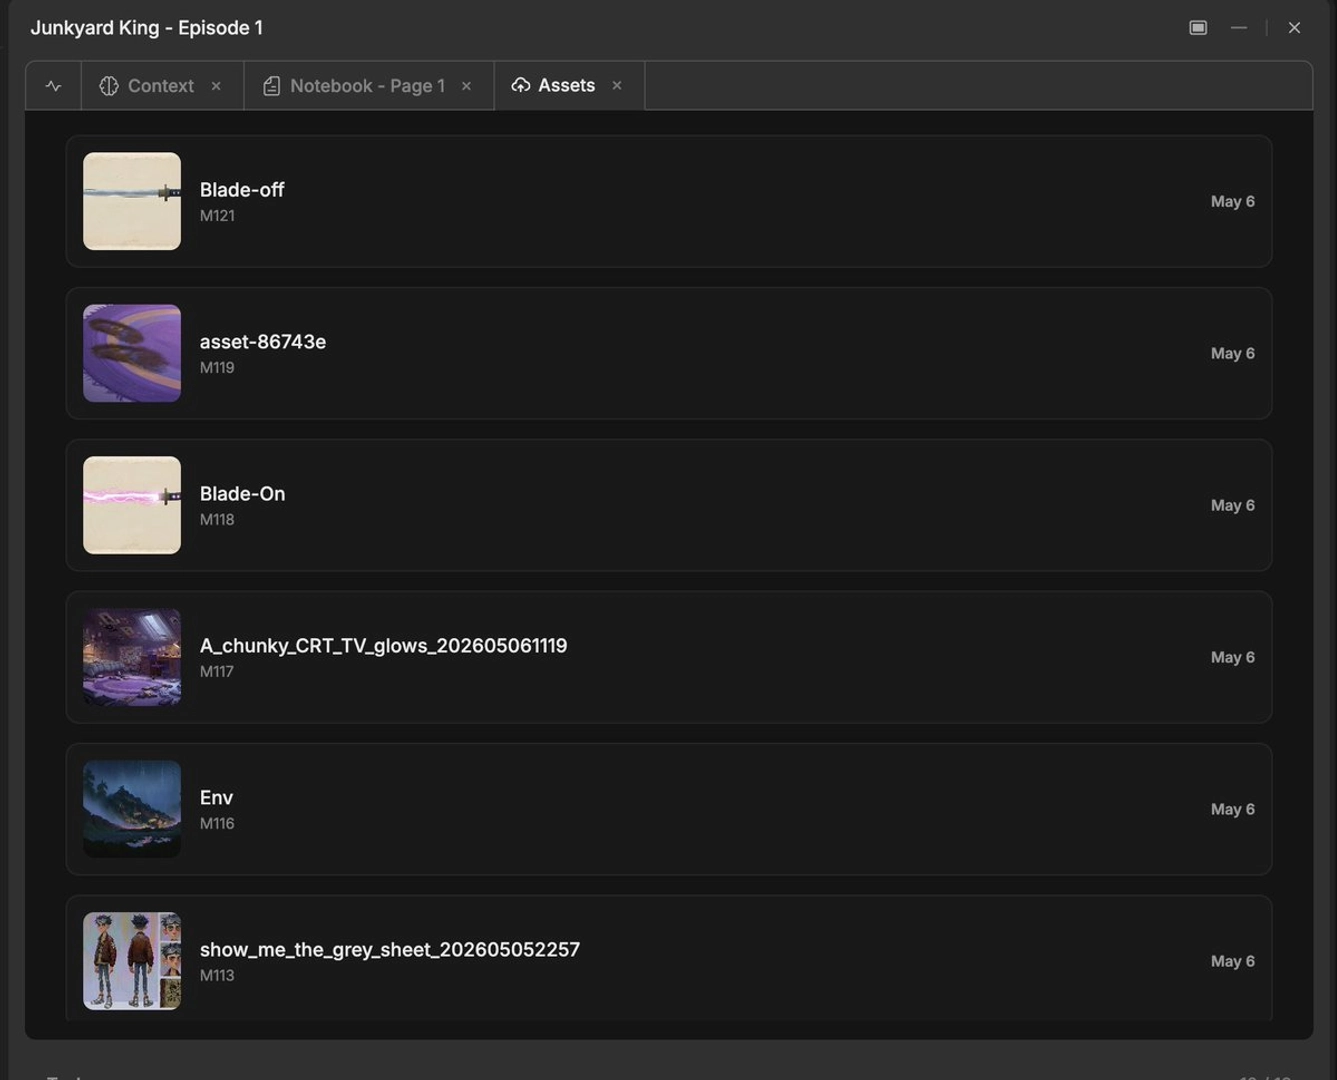
Out of 164, 41 videos made the cut, and on average only 5 seconds of each 15-second clip was used. That's how 41 clips became a 3-minute episode.
— invideo's creative team, documenting an AI-directed animated episode